How to Install Minecraft Java on Chromebook (Update)
How to Install Minecraft Java Edition on a Chromebook (Update)
There have been some improvements to Chrome OS’ Linux (Beta), which enable Minecraft: Java Edition to be run on Chromebook without rooting the Chromebook first. Before doing this article, make sure you have installed Linux (Beta), read our article on how to do that here (you only have to read the first part): How to Install Linux on a Chromebook. It is actually surprisingly simple now. Here’s all you have to do. Now, on to how to install Minecraft: Java Edition on the Chromebook.
Downloading Minecraft: Java Edition on Chromebook
First, you’ll want to head over to the Minecraft Alternative Downloads (https://www.minecraft.net/en-us/download/alternative/). Then, download the “Minecraft.deb” for Debian/Ubuntu. It should appear in your downloads folder.
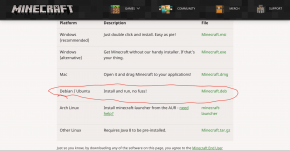
Installing Minecraft
Now that you have downloaded it, you need to install it. Go to your Downloads folder in Files, and double-click on Minecraft.deb, you should be met with a screen with the title “Install App on Linux (Beta)”. Press the button that says “Install.”
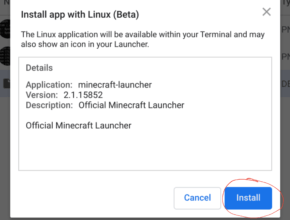
Setting Up Minecraft
Now that you have installed Minecraft, go to the folder Linux Apps in your applications. Start the “Minecraft Launcher”. (It sadly doesn’t have an icon, so it will look like a penguin.) It will take a minute to start up. Once you are done with that, you should see a login screen. Enter the credentials for your Minecraft Java Edition account there.
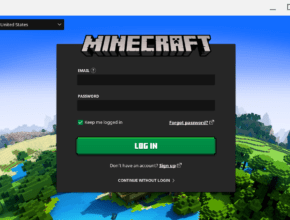
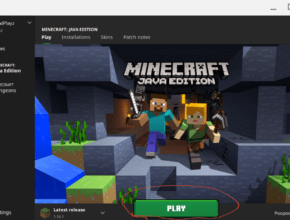
Now that you are done logging in, all you have to do to start playing is to click “Play”!
That’s it! Hopefully, you found this article helpful. If you’re looking for a way to speed up the experience, take a look at our article on how to install OptiFine on Chromebook: UPDATE: How to Install OptiFine on Chromebook.

