How to Install Linux on a Chromebook
How to Install Linux on a Chromebook
One way to enable your Chromebook to do many more things is to install Linux on it. Chrome is already a lightweight Linux system. However, there are some things it cannot do. There are two ways to install Linux on a Chromebook. There is Google’s Beta Linux VM, and there is also Crouton, which establishes a Linux OS which runs parallel to Chrome OS. Crouton requires root to run. However, Crouton can do a lot of things than Google’s Linux VM, because it runs parallel to the OS instead of as a VM. If you do not already have a rooted Chromebook and you want to do it the Crouton way, please go to our article on How to Root Chromebook.
Method 1: Google’s Linux VM
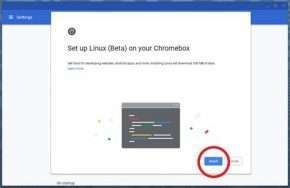
Google’s Linux VM is useful if you want to run Linux apps and not control your system with Linux. To do that, go to the settings and press “Turn on” where it says “Linux (Beta).” This will guide you through a walkthrough, and you will have Linux installed. Now, go into your apps, and you will find a folder called “Linux Apps.” Then, go to “Terminal.” Once it is open, run the following commands:
sudo apt-get update && sudo apt-get upgrade
Once that has been done, you will need to know that Google’s Linux runs Ubuntu packages. This means that most stuff that is available for Ubuntu will be available for your Linux VM. If you want to access your /home/<user> directory in Files, go to “Linux Files” (next to the penguin icon). This will show you your home directory so you can transfer files. You cannot access data outside of your Linux VM. You will have to move them over.
Method 2: Crouton
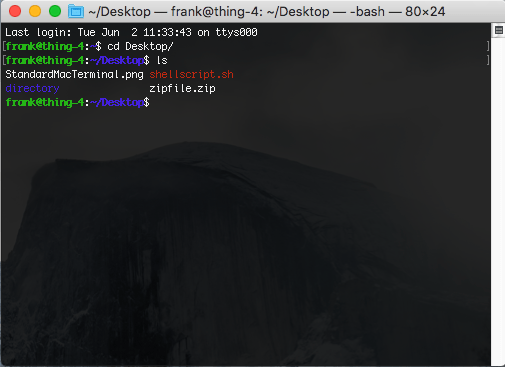
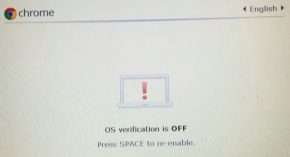
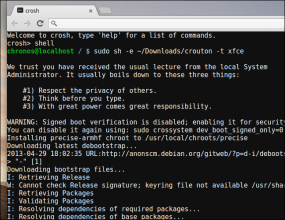
This method is a bit more complicated but allows you to do more. First, you will need to root your Chromebook. Go to the article on How to Root Chromebook so you can be walked through that process. Once you are done with that, type CONTROL+ALT+T. This will open crosh. Crosh is the Chromebook terminal. To get into the terminal, we will be using, though, enter in the following command:
shell
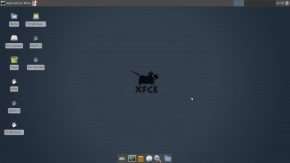
This will bring you into a shell. Before doing anything else, download Crouton at https://goo.gl/fd3zc. For this tutorial, we will be installing Ubuntu Xenial. My Chromebook runs Xenial the best, so that’s what we will be installing. We will also be using the Xfce4 user interface. Xfce4 runs the best on Chromebooks because they are relatively low quality
See why I got a Chromebook here: I Got a Chromebook
UPDATE FROM A LATER DATE: Chrome OS has changed some security stuff, which renders what was previously doable not to work anymore. Before proceeding on with the tutorial, please enter the following command:
sudo install -Dt /usr/local/bin -m 755 ~/Downloads/croutonNow you need to actually create the virtual machine. Enter in the following command:
sudo crouton -e -r xenial -t xfce
This may take a while to run. Go through the wizard it shows you. Once it is done running, to use the command line of the system only, type the following:
sudo enter-chroot -n xenial
However, if you wish to run the OS with the UI included, type:
sudo startxfce
To go back and forth between Ubuntu and Chrome OS, type CONTROL+ALT+SHIFT+<- to go to Chrome OS, and CONTROL+ALT+SHIFT+-> to run Ubuntu. When you log out of Ubuntu, it will shut down Ubuntu to save memory.
There you go, now you have Linux. Stay tuned for articles on how to overclock a Chromebook (requires Crouton), and how to run Minecraft (also requires Crouton). I’ll see you guys later.