How to Activate DNS over HTTPS on Mac and iOS
DNS over HTTPS (DoH) and DNS over TLS (DoT) on Mac and iOS are giant steps forward regarding privacy, security, and corporate system management. Using traditional DNS protocols allowed malicious users who had gained control of networks to either regulate traffic or redirect traffic from legitimate websites to malicious websites. Apple has created DoH and DoT profiles to install systemwide on iOS and Mac.
Apple has provided an extraordinary way to use both DNS over HTTPS and DNS over TLS: a profile that redirects all traffic on the system to a specific DoH or DoT server. This article will show you how to install those profiles (and create them if needed).
Profiles for Popular DoH/DoT Servers
A repository with a list of popular DoH and DoT servers and premade profiles for them is available at https://github.com/paulmillr/encrypted-dns.
If you are here for privacy, we recommend one free DoH server. We have an article with simple instructions for install
ng it at PubHole: Secure DoH Server with AdBlock and OpenNIC. It also includes OpenNIC domains and is the only server (that we know of) that supports both privacy protection and OpenNIC.
We never accept sponsorships for recommendations, which are critically reviewed by our team.
If There is No Premade Profile, Create a Profile
If you cannot find your server above or are creating a custom DoH server, you must create a new profile yourself. Copy the following into a file in TextEdit, named <File Name>.mobileconfig for DNS over HTTPS on Mac or iOS:
<?xml version="1.0" encoding="UTF-8"?>
<!DOCTYPE plist PUBLIC "-//Apple//DTD PLIST 1.0//EN" "http://www.apple.com/DTDs/PropertyList-1.0.dtd">
<plist version="1.0">
<dict>
	<key>PayloadContent</key>
	<array>
		<dict>
			<key>DNSSettings</key>
			<dict>
				<key>DNSProtocol</key>
				<string>HTTPS</string>
				<key>ServerAddresses</key>
				<array>
					<string>{{IPv6 Address}}</string>
					<string>{{IPv4 Address}}</string>
				</array>
				<key>ServerURL</key>
				<string>{{Domain and Link}}</string>
			</dict>
			<key>PayloadDescription</key>
			<string>Configures device to use {{Your DNS Server}}</string>
			<key>PayloadDisplayName</key>
			<string>{{Your DNS Server's}} DNS Over HTTPs</string>
			<key>PayloadIdentifier</key>
			<string>com.apple.dnsSettings.managed.{{First UUID}}</string>
			<key>PayloadType</key>
			<string>com.apple.dnsSettings.managed</string>
			<key>PayloadUUID</key>
			<string>{{Second UUID}}</string>
			<key>PayloadVersion</key>
			<integer>1</integer>
			<key>ProhibitDisablement</key>
			<false/>
		</dict>
	</array>
	<key>PayloadDescription</key>
	<string>Adds {{Your DNS Server}} DNS to the latest macOS and iOS systems</string>
	<key>PayloadDisplayName</key>
	<string>{{Your DNS Server}} DNS over HTTPs</string>
	<key>PayloadIdentifier</key>
	<string>com.paulmillr.apple-dns</string>
	<key>PayloadRemovalDisallowed</key>
	<false/>
	<key>PayloadType</key>
	<string>Configuration</string>
	<key>PayloadUUID</key>
	<string>{{Third UUID}}</string>
	<key>PayloadVersion</key>
	<integer>1</integer>
        <key>PayloadScope</key>
        <string>System</string>
</dict>
</plist>
Or, for DNS over TLS:
<?xml version="1.0" encoding="UTF-8"?>
<!DOCTYPE plist PUBLIC "-//Apple//DTD PLIST 1.0//EN" "http://www.apple.com/DTDs/PropertyList-1.0.dtd">
<plist version="1.0">
<dict>
	<key>PayloadContent</key>
	<array>
		<dict>
			<key>DNSSettings</key>
			<dict>
				<key>DNSProtocol</key>
				<string>TLS</string>
				<key>ServerAddresses</key>
				<array>
					<string>{{IPv6 Address}}</string>
					<string>{{IPv4 Address}}</string>
				</array>
				<key>ServerName</key>
				<string>{{Domain Name of Server}}</string>
			</dict>
			<key>PayloadDescription</key>
			<string>Configures device to use {{Your DNS Server}}</string>
			<key>PayloadDisplayName</key>
			<string>{{Your DNS Server}} DNS over TLS</string>
			<key>PayloadIdentifier</key>
			<string>com.apple.dnsSettings.managed.{{First UUID}}</string>
			<key>PayloadType</key>
			<string>com.apple.dnsSettings.managed</string>
			<key>PayloadUUID</key>
			<string>{{Second UUID}}</string>
			<key>PayloadVersion</key>
			<integer>1</integer>
			<key>ProhibitDisablement</key>
			<false/>
		</dict>
	</array>
	<key>PayloadDescription</key>
	<string>Adds {{Your DNS Server}} to the latest macOS and iOS systems</string>
	<key>PayloadDisplayName</key>
	<string>{{Your DNS Server}} DNS over TLS</string>
	<key>PayloadIdentifier</key>
	<string>com.paulmillr.apple-dns</string>
	<key>PayloadRemovalDisallowed</key>
	<false/>
	<key>PayloadType</key>
	<string>Configuration</string>
	<key>PayloadUUID</key>
	<string>{{Third UUID}}</string>
	<key>PayloadVersion</key>
	<integer>1</integer>
        <key>PayloadScope</key>
        <string>System</string>
</dict>
</plist>
Add Options to DoH/DoT Profile
Firstly, you will need three long UUIDs. To get those UUIDs, you will need to use the Apple Terminal. The uuidgen command will generate those UUIDs.
These commands in Terminal will replace all UUIDs properly:
cat name.mobileconfig | sed "s/{{First UUID}}/$(uuidgen)/" >> name.mobileconfig
cat name.mobileconfig | sed "s/{{Second UUID}}/$(uuidgen)/" >> name.mobileconfig
cat name.mobileconfig | sed "s/{{Third UUID}}/$(uuidgen)/" >> name.mobileconfig
Next, you will need to insert the name of your DNS server
MY_DNS_SERVER_NAME=Put your DNS Server Name Here
cat name.mobileconfig | sed "s/{{Your DNS Server}}/$MY_DNS_SERVER_NAME/" >> name.mobileconfig
Then, you will need to put in your IPv4 and IPv6 addresses for the DNS server
SERVER_IPV4=123.123.123.123
SERVER_IPV6=2001:db8:1234:ffff:ffff:ffff:ffff:ffff
cat name.mobileconfig | sed "s/{{IPv6 Address}}/$SERVER_IPV6/" >> name.mobileconfig
cat name.mobileconfig | sed "s/{{IPv4 Address}}/$SERVER_IPV4/" >> name.mobileconfig
Installing the DoH/DoT Profile on Mac
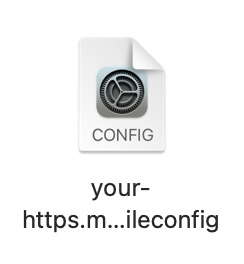
First, go to the .mobileconfig file’s location on your computer and double-click it.
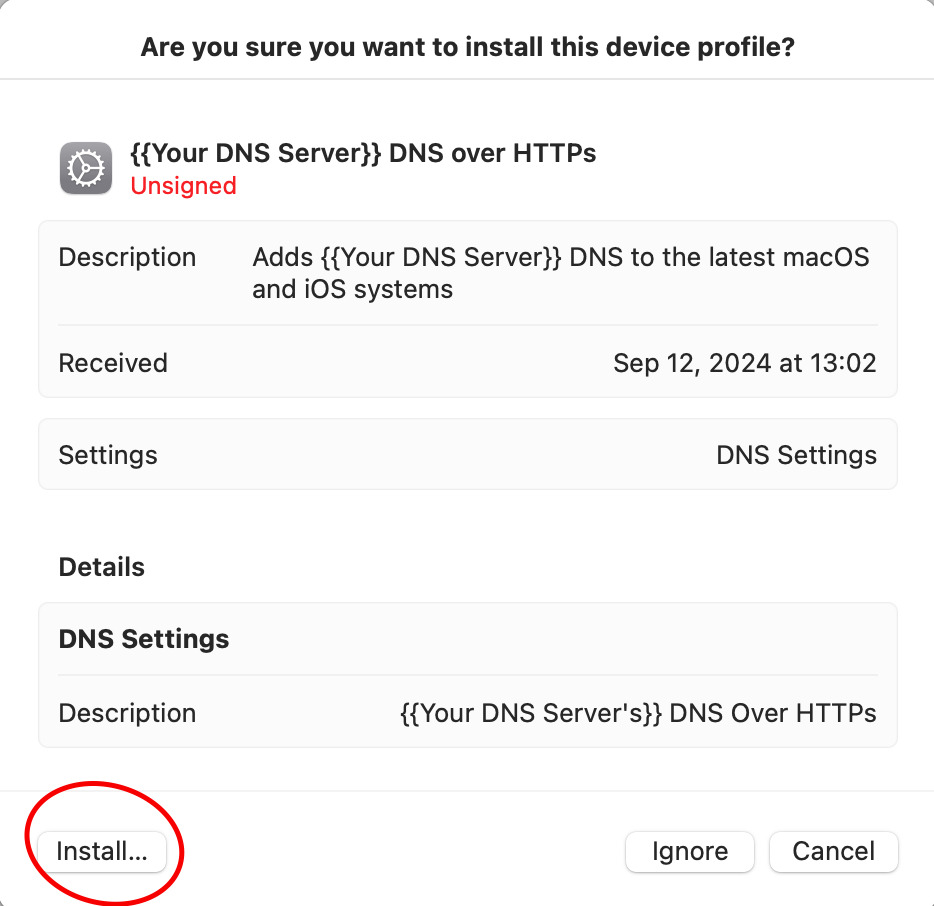
You should see the following notification:

Then, to to the Apple logo on the top right > System Settings > Privacy and Security > Profiles (all the way on the bottom) > Click on the profile you just opened.

Double-click on that profile, and you should see these settings. Click “Install” on the bottom-left.

The profile should install the DNS over HTTPS or TLS on your Mac that will be used.
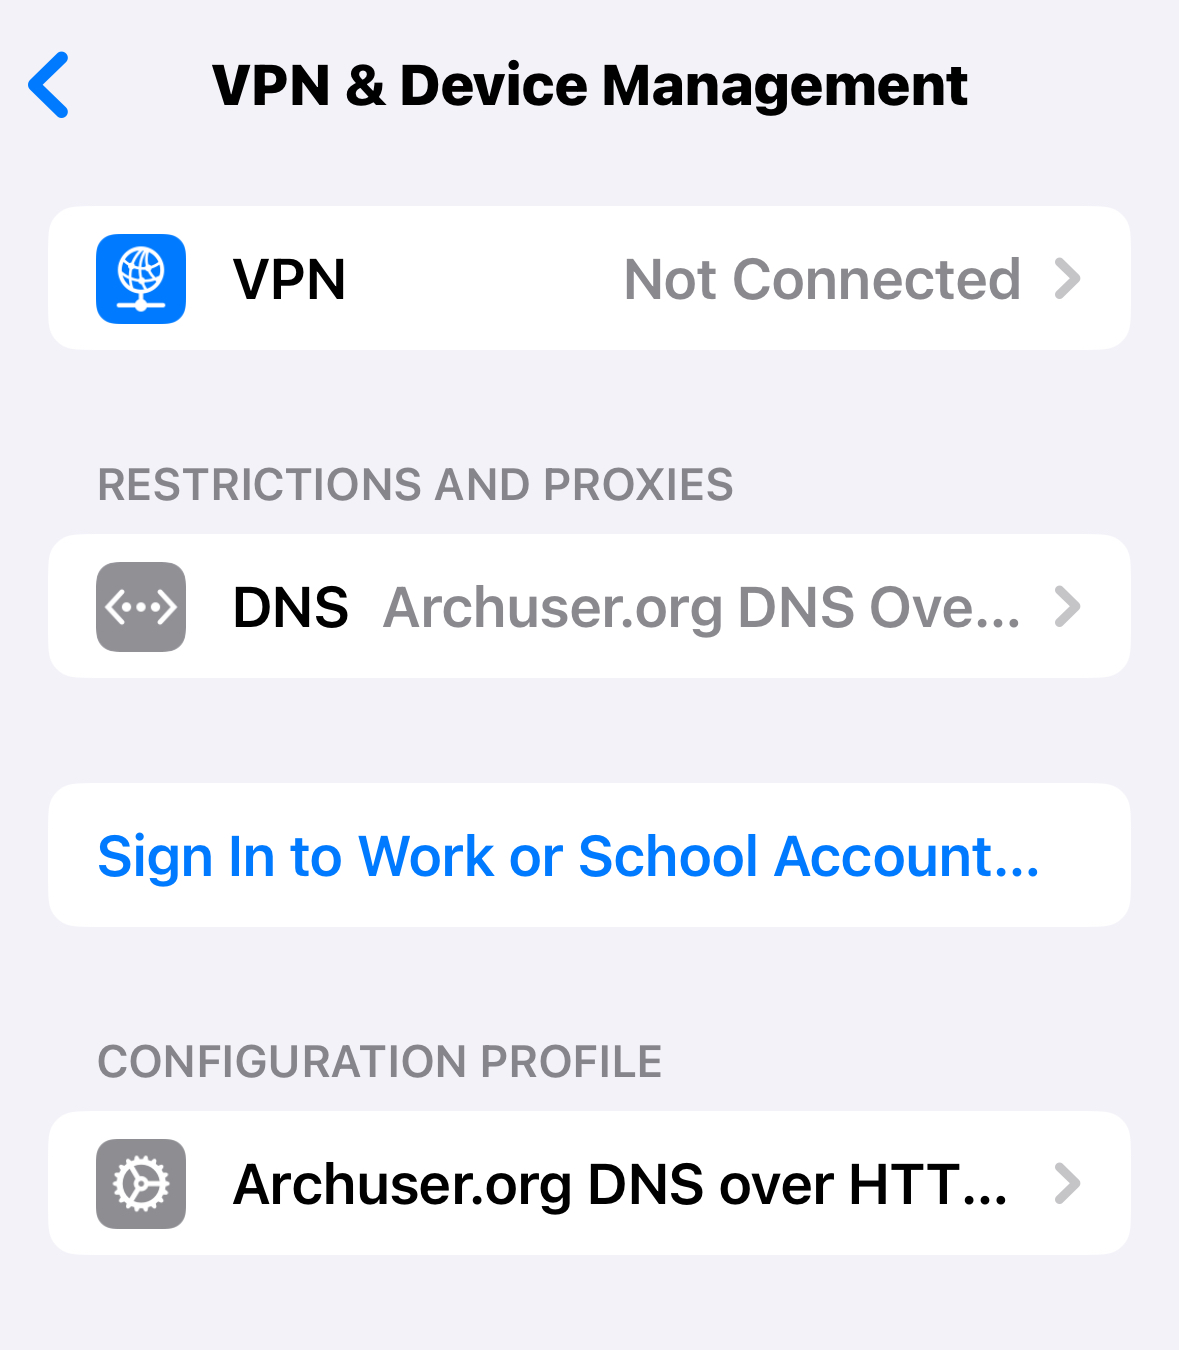
Installing the DNS over HTTPS or TLS Profile on iOS
The process differs slightly for iPhones, iPads, or other Apple mobile devices. First, you need to get the profile over to the mobile device. In most cases, you can download it straight from the repository/website of the DNS server, but if not, you can AirDrop the .mobileconfig file.
Then, the area to activate the profile is in Settings > General > VPN & Device Management > Profiles (at the bottom)
If You Use Google Chrome
Chrome has its own DNS over HTTPS system built in on Mac. It defaults to using Google’s DNS servers, but you can change that. To do so, type chrome://settings at the top of the browser and then navigate to Privacy & Security > Security.
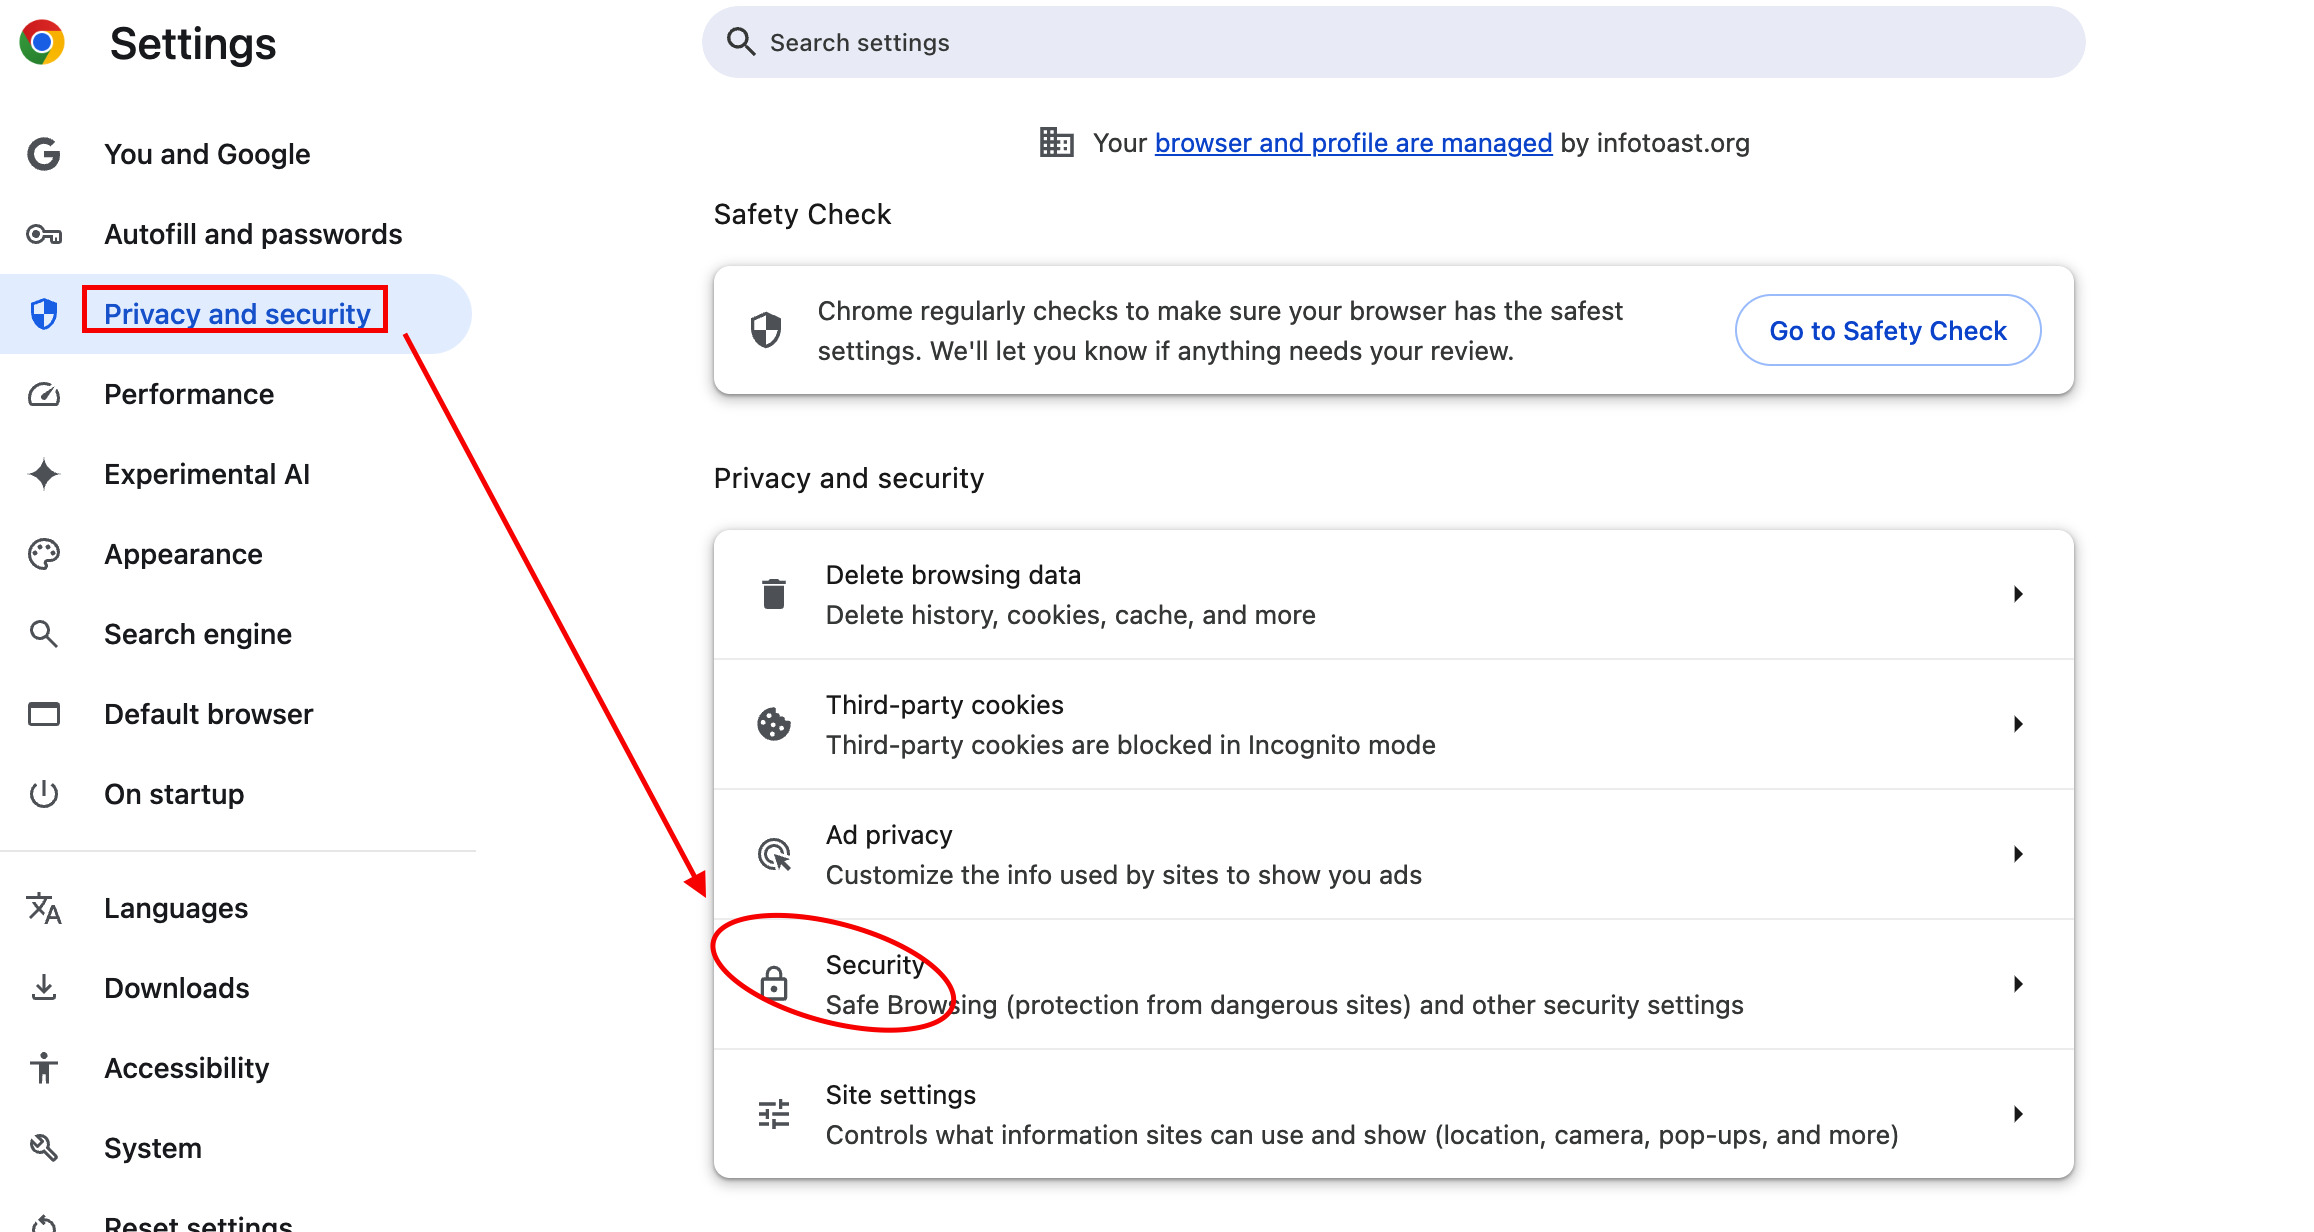
Then, turn on Use Secure DNS, and you will be able to enter the server of your choice. This will differ depending on the server. For example, archuser.org’s PubHole is https://doh.archuser.org/dns-query.