How To Access SSH With HTTP
Accessing Secure Shell with An Apache Server
Are you often being a great big juicy firewall? The kind of firewall that disables every port except for the HTTP and HTTPS ports. If so you may also know how hard it is to access your website’s SSH while you are behind the firewall. Well, there is a fix for you. If you have a LAMP server, you are all set. In order to access SSH from HTTP, we will be using a nifty tool called “shellinabox.”
What You Will Need
You will need the following in order to access SSH from HTTP:
- A computer running Ubuntu Linux
- An Apache HTTP Server with mod_ssl installed (for security)
- An SSH Server (I suggest OpenSSH).
- Access to the internet
Instructions
Setting up shellinabox is actually quite simple on Ubuntu. It requires several commands, as well as something that is done a little different for Ubuntu Bionic Beaver. The harder part will be getting Apache to proxy the connection on the server to the shellinabox server. However, it is, in fact, a fairly simple process.
Installing Shellinabox
There is a bug that exists in shellinabox on the Bionic versions of Ubuntu, which means that it doesn’t work and returns an empty response, however fixing the error is a simple matter of downgrading to an earlier version. Therefore, I will have a separate section for Bionic versions of Ubuntu.
Installing on Non-Bionic Ubuntu
Installation in Non-Bionic versions of Ubuntu is easier. Just enter the following commands:
sudo apt-get update

sudo apt-get install shellinabox
Those commands would have installed shellinabox. It’s just that easy.
Installing on Bionic Ubuntu
Installation on Bionic Ubuntu requires a little bit more elbow grease. You will have to download an older version of shellinabox in order for it to be able to run properly. To do that, go to the following page, and download shellinabox for your architecture: https://packages.ubuntu.com/xenial/shellinabox. This will download the shellinabox for xenial which is still 0.19. Once you have it downloaded, enter the following commands on the Debian package:
sudo dpkg -i shellinabox_2.19_amd64.deb
Of course, replace amd64 with whatever your architecture is. Once that is done, it is time to configure shellinabox for your PC.
Configuring Shellinabox
Shellinabox is quite simple to configure for what you want to do. In order to configure shellinabox, enter in the following command to enter the configuration file to edit it:
sudo nano /etc/default/shellinabox
You will see a configuration file. Please replace the items in the file with what I have written in green:
# Should shellinaboxd start automatically

SHELLINABOX_DAEMON_START=1

# TCP port that shellinaboxd's web server listens on

SHELLINABOX_PORT=4200

# Parameters that are managed by the system and should not need changing

# SHELLINABOX_DATADIR=/var/lib/shellinabox

# SHELLINABOX_USER=shellinabox

# SHELLINABOX_GROUP=shellinabox

# Any optional arguments (e.g. extra service definitions). Make sure

# that the argument is quoted.

#

#     Beeps are disabled because of reports of the VLC plugin crashing

#     Firefox on Linux x86_64

SHELLINABOX_ARGS="--no-beep --disable-ssl"
Now that you have replaced the text in the configuration file, it is time to apply the configuration. To save and exit nano, type CONTROL+O, ENTER, and then type CONTROL+X. This will save shellinabox’s configuration file. To apply the configuration, enter in the following command:
sudo systemctl restart shellinabox
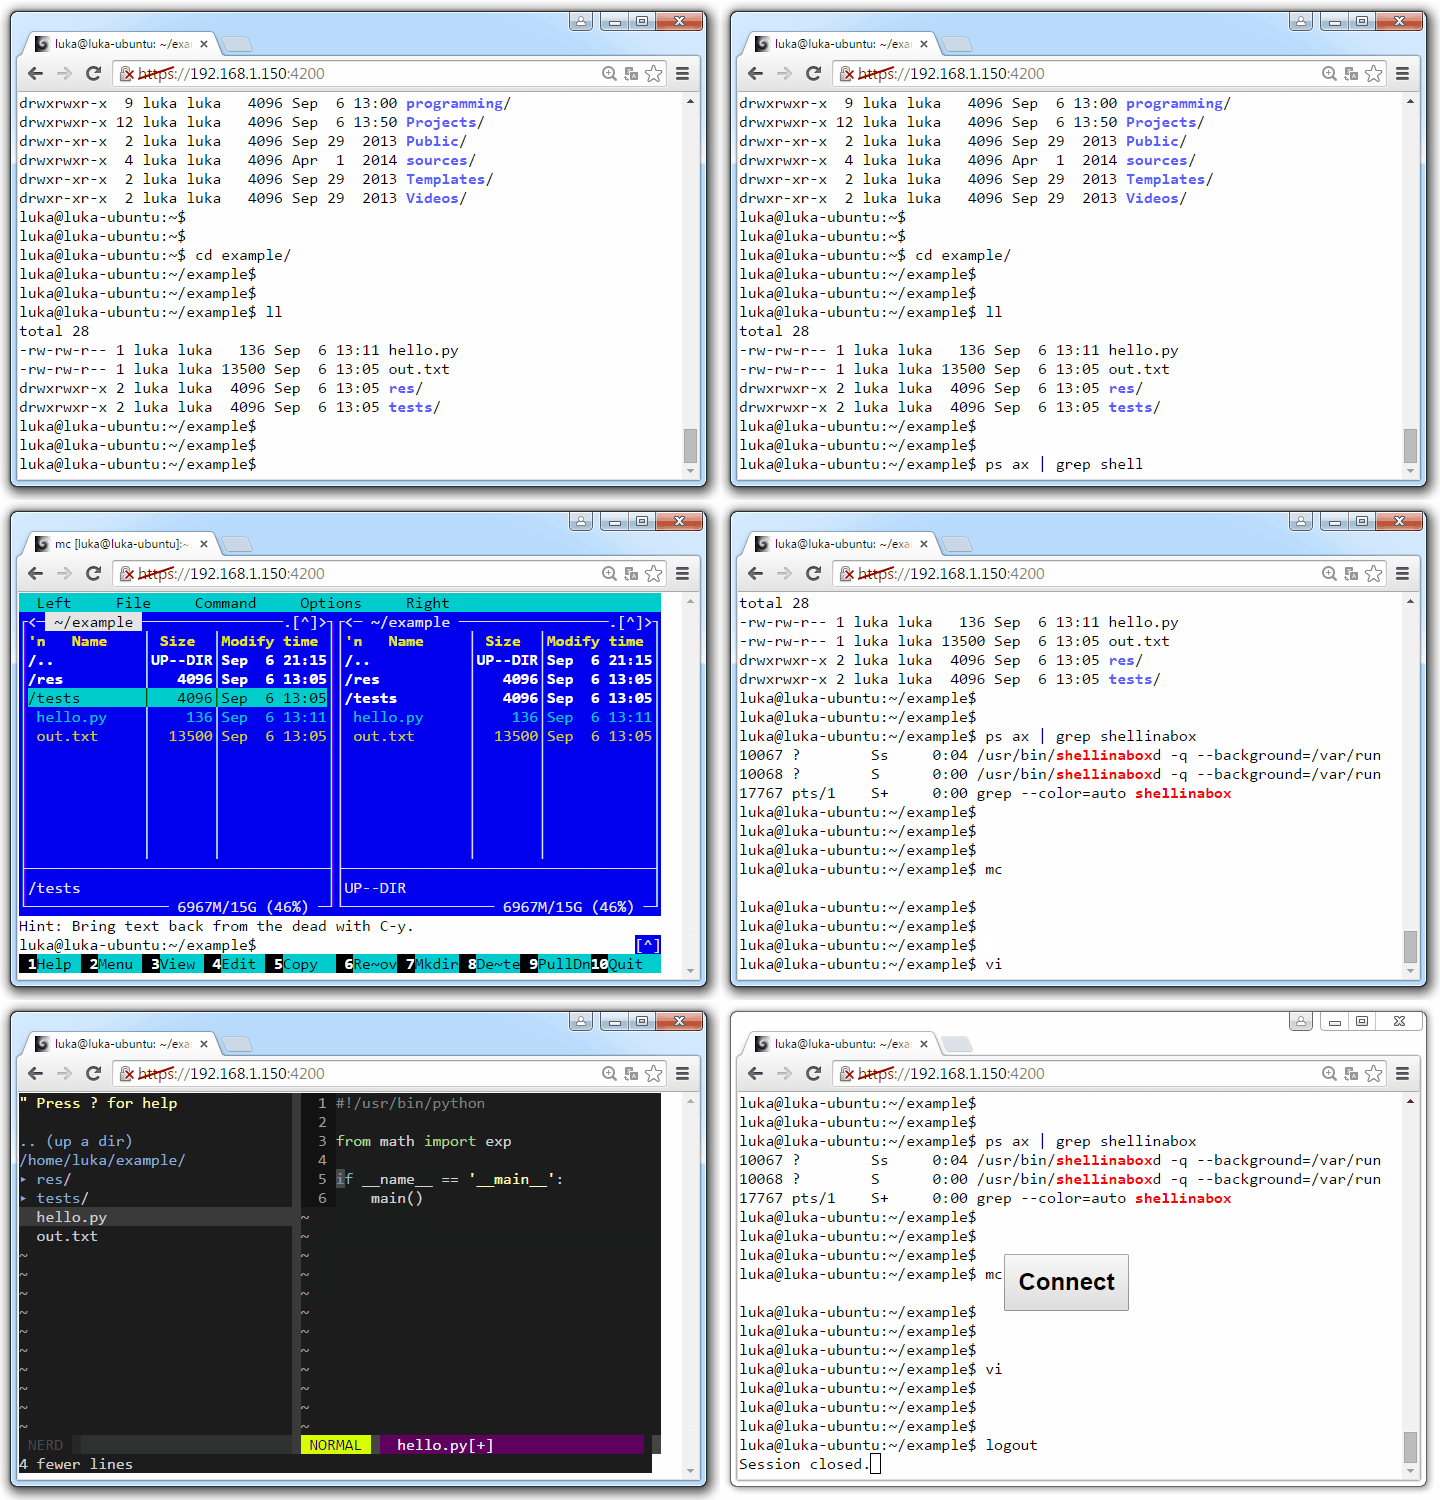
This will reboot shellinabox, and it is ready for you to text. Go into the browser on your computer and type in the following URL:
http://localhost:4200
This should open up an SSH where you can access your computer. However, this tutorial is there to get you around a firewall, and you can’t do much with port 4200. That is why I am also going to show you how to proxy shellinabox through an Apache server.
Proxying Shellinabox Through Apache
To start, you will need to install some modules. In order to enable the modules, type the following into the terminal:
sudo a2enmod proxy

sudo a2enmod proxy_html

sudo apachectl restart
That will enable the proxy module, which enables the server to proxy to other servers. It will also enable the proxy_html module, which is designed to proxy certain webpages through the server’s own webpages.
Now, you will need to set up the proxy webpage. In order to do that, you will want to go into 000-default.conf with nano. To do that, enter the following command:
sudo nano /etc/apache2/sites-enabled/000-default.conf
This will open the site configuration for Apache. You should probably enable SSL on Apache or otherwise, people will be able to see your personal information. However, that is another tutorial for another day. Change the data which is indicated in green.
<VirtualHost *:443>

ServerAdmin [email protected]

DocumentRoot /var/www/html

ErrorLog ${APACHE_LOG_DIR}/error.log

CustomLog ${APACHE_LOG_DIR}/access.log combined

SSLEngine on

SSLCertificateFile YOUR_SSL_CERT

SSLCertificateKeyFile YOUR_SSL_CERT_KEY

ServerName yoursite.com

ServerAlias www.yoursite.com

<Location /term>

ProxyPass http://localhost:4200

</Location>

</VitrualHost>
Now, you will need to restart Apache and then the proxy will begin. To do that, type the following command:
sudo apachectl restart
Now that Apache has restarted, it is time to test out the system. Go to your browser and type in yoursite.com/term and you will be taken to the terminal. There you go, you can now access SSH through your firewall.


How to utilize Openbox VPN? I first tried to use this in Raspbian, then Ubuntu and failed to figure out how to configure it properly.
I used to recommend this, but I no longer do. I would instead use cockpit. It’s quick, has themes, and you get additional tools for server management.