How To Optimize Minecraft for M1 (Java Edition)
I recently purchased the MacBook Pro with Apple Silicon. However, most apps still are not yet optimized. One of the main apps I care about performing well is Minecraft. However, I have finally figured how to optimize Minecraft for M1 with the MultiMC launcher’s help. IMPORTANT NOTE: This tutorial is for 1.16.5 and below. For 1.17-1.18.2, please read this tutorial: How To Optimize Minecraft 1.17 for M1. For 1.19 and above, please read this tutorial: How to Optimize Minecraft 1.19 for M1. For 1.7.10-1.12.2, please follow this tutorial: How to Optimize Minecraft 1.7.10-1.12.2 for M1.
Step 1: Installing MultiMC to Optimize Minecraft for M1
Because the normal Minecraft launcher does not make it possible to optimize Minecraft for M1, you must first install MultiMC. MultiMC is an Open-Source customizable Minecraft launcher. I chose this launcher in particular because you will have to enter your Mojang account credentials into it, and Open-Source software is less likely to be hot-seated.
First of all, download MultiMC from their website. It is not yet available for M1. However, it is still able to launch the actual Minecraft game to be M1-optimized. Go ahead and install MultiMC by extracting the tar.gz and then placing it into the Applications folder in the Finder. Don’t start it yet because we still need to install an M1-optimized JDK.
NOTE FROM LATER: We forgot to add this to the tutorial at first, but you will need to install the XCode command line developer tools. Search “Terminal” in Spotlight, and run the following command to install:
xcode-select --installStep 2: Getting an M1-Optimized Java Installation
There is no official Oracle JDK optimized for Apple Silicon (at the time of writing), but there is a community-driven M1-optimized JDK from Microsoft Azul. Go to this page: https://www.azul.com/downloads/?package=jdk#download-openjdk. You should see this page:
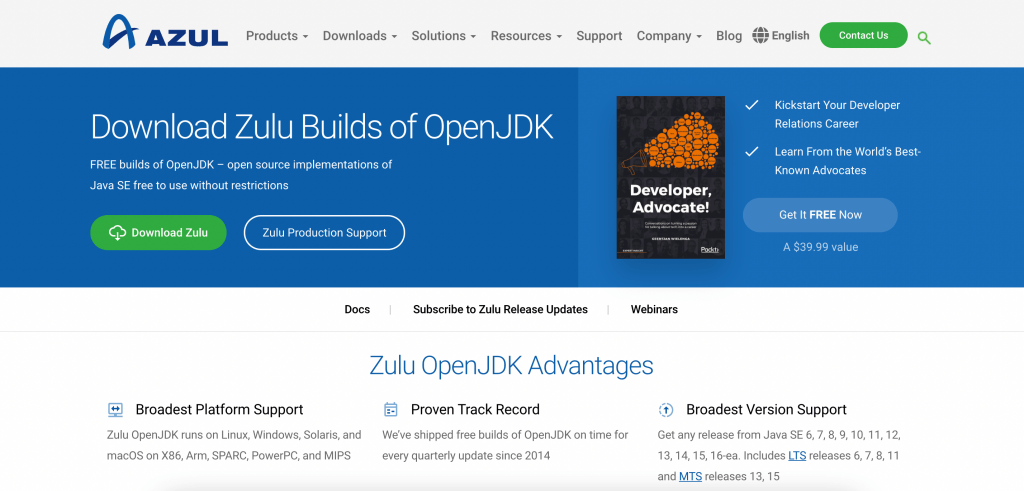
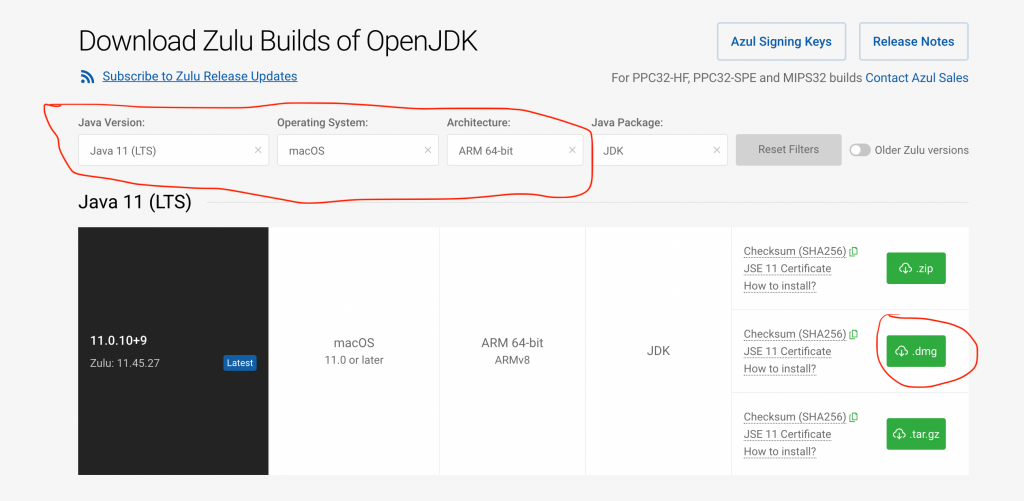
Go down to “Download Builds of OpenJDK,” and then select Java 11 as your Java version, macOS as your Operating System, and ARM (64-bit) as your architecture. Then, download the .dmg it shows on the page. It looks like this at the time of writing.
Installing Zulu OpenJDK
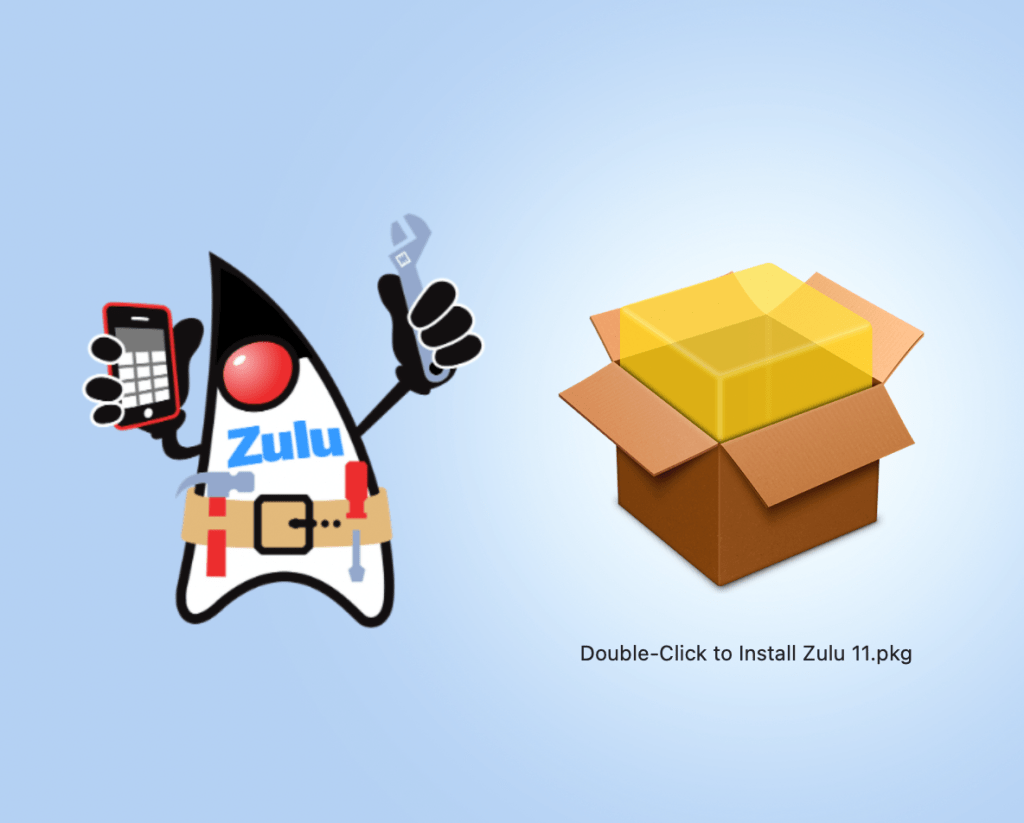
Now that you have the dmg downloaded open it up. This may require you to go to your Security & Privacy preferences and allowing the dmg to be opened. Then, click on the “Double Click to Install Zulu 11.pkg” file that looks like a box. You may have to allow it to open in your System Preferences again. Go through all the defaults in the wizard, and then click install, and it’ll do its thing, and now you have M1-optimized Java.
Step 3: Configuring MultiMC to Optimize Minecraft for M1
So now you’re going to want to open up MultiMC. Please select your language, then it will ask you for your Java version. If you don’t already see the Zulu OpenJDK in there, you should be able to find it with Browse, as it would look something like this:
/Library/Java/JavaVirtualMachines/zulu-11.jdk/Contents/Home/bin/java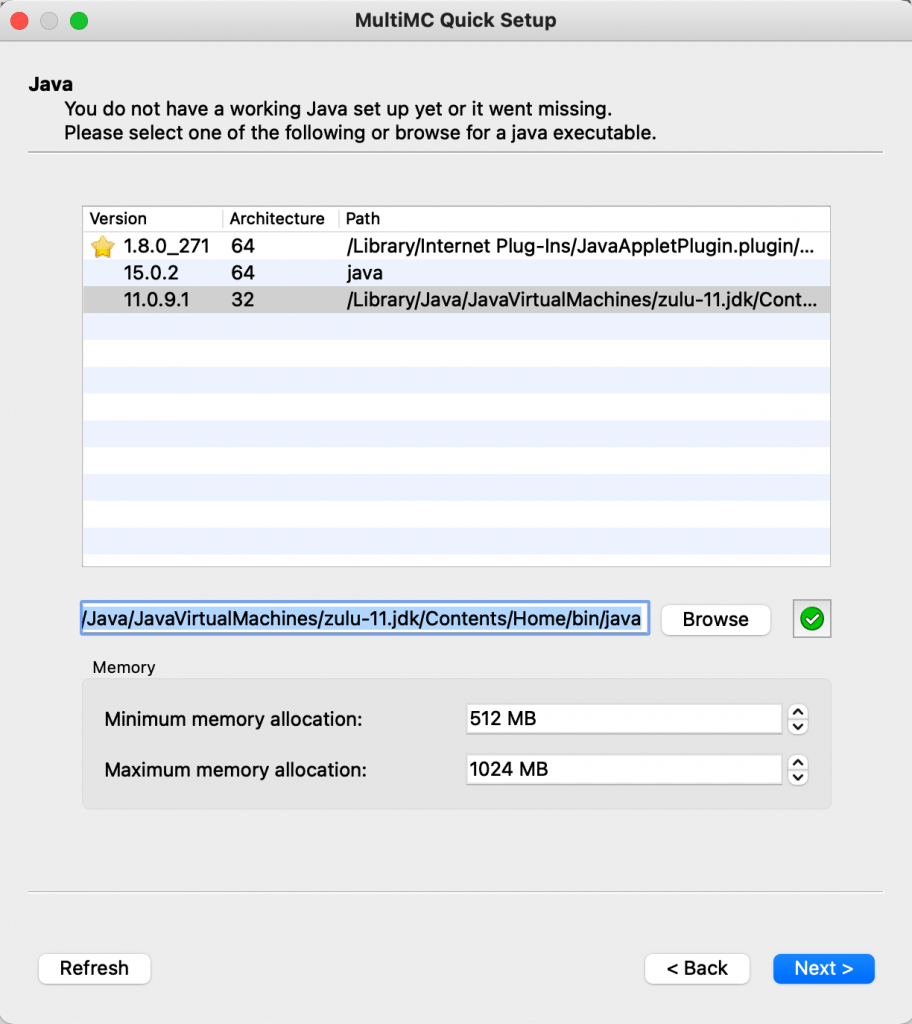
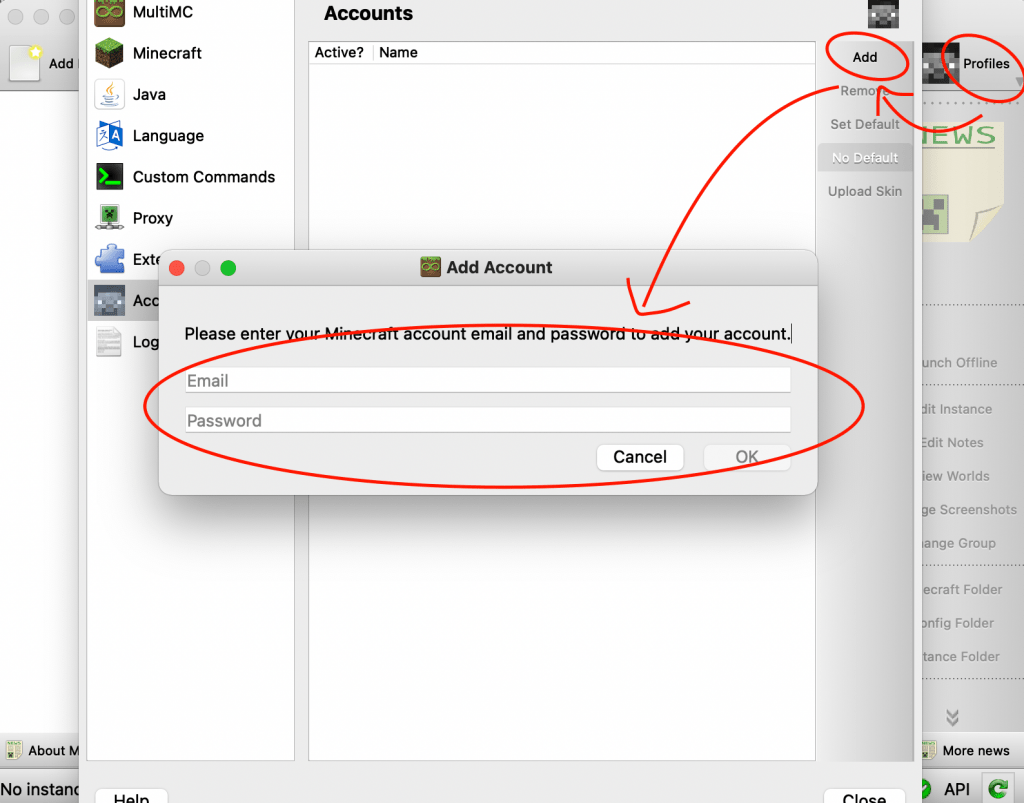
Click next, and then select whether you care about Analytics being stored or not. The next thing you will want to do is go up to Profiles at the top and select “Manage Accounts” in the dropdown. Click Add and enter in your Minecraft account credentials.
Fixing Launch Arguments
This is probably the most complex step, but it’s still not really that difficult. There’s a library called LWJGL that Minecraft uses, which is not entirely M1-ready yet. However, do not fret, because there is a simple patch that you can apply as a launchwrapper, which will enable this to run more smoothly. Go ahead and download the M1 MultiMC Hack from GitHub: https://github.com/yusefnapora/m1-multimc-hack/archive/master.zip. Extract that folder and put it in your Documents.
Open up MultiMC and go to your settings. Go to “Custom Commands,” and enter the following path in the “Wrapper Command Argument”:
/Users/<yourusername>/Documents/m1-multimc-hack-master/mcwrap.py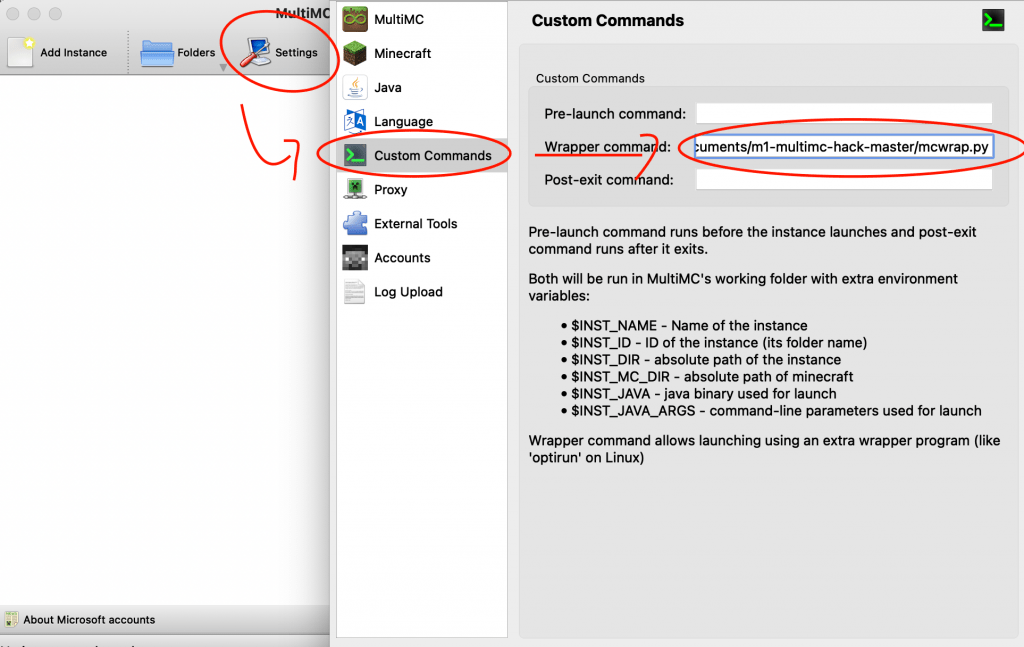
Step 4: Setting Up A Profile
This part is pretty simple. All you have to do is click “Add Instance”, and then select the version of Minecraft you want to run. Then click on, and then double-click on the instance on the screen. There you go, you’re done! Now you can brag to all your friends you’ve got Minecraft running on the M1 without Rosetta.


Fantastic my man, thanks!
This really works – very snappy now!
I can’t use it to start Minecraft Version 1.8.9 . This is the things which shows in the log(it doesn’t have a crash report)
Failed to start Minecraft:
java.lang.reflect.InvocationTargetException
Exiting with -1
at java.base/jdk.internal.reflect.NativeMethodAccessorImpl.invoke0(Native Method)
at java.base/jdk.internal.reflect.NativeMethodAccessorImpl.invoke(NativeMethodAccessorImpl.java:62)
at java.base/jdk.internal.reflect.DelegatingMethodAccessorImpl.invoke(DelegatingMethodAccessorImpl.java:43)
at java.base/java.lang.reflect.Method.invoke(Method.java:566)
at org.multimc.onesix.OneSixLauncher.launchWithMainClass(OneSixLauncher.java:196)
at org.multimc.onesix.OneSixLauncher.launch(OneSixLauncher.java:231)
at org.multimc.EntryPoint.listen(EntryPoint.java:143)
at org.multimc.EntryPoint.main(EntryPoint.java:34)
Caused by: java.lang.NoClassDefFoundError: org/lwjgl/opengl/OpenGLException
at net.minecraft.client.main.Main.main(SourceFile:41)
… 8 more
Caused by: java.lang.ClassNotFoundException: org.lwjgl.opengl.OpenGLException
at java.base/jdk.internal.loader.BuiltinClassLoader.loadClass(BuiltinClassLoader.java:581)
at java.base/jdk.internal.loader.ClassLoaders$AppClassLoader.loadClass(ClassLoaders.java:178)
at java.base/java.lang.ClassLoader.loadClass(ClassLoader.java:522)
… 9 more
1.8 is not supported by M1 lwjgl. It’s too old. You’ll have to use Rosetta.
I can’t add an account. I get always :
Invalid credentials. Invalid username or password.
I tried to log in with the Microsoft account.
MultiMC does not support Microsoft accounts at this time. They will in the future, but for now there’s not much I can do (Lunar Client is optimized for Apple Silicon so you could try that, but you won’t be able to play with anything other than Lunar while still optimized for M1).
Is there any specific reason to use Java 11?
I want to use Java 17 to play a world on 1.17.1. Would this affect performance at all? Do you think it would work?
I believe it will work with Java 17 but don’t quote me and if it doesn’t use Java 11.