
How to Optimize Minecraft 1.19 for M1
This is the fourth part of the series I’ve written on optimizing Minecraft for M1. Now that Minecraft 1.19 has been released, I will be writing on how to optimize Minecraft 1.19 for M1.
- If you wish to run the current version that is being used by most Minecraft mods, 1.16.5, follow the tutorial here: How To Optimize Minecraft for M1 (Java Edition).
- If you wish to optimize Minecraft 1.17-1.18.2 for M1, follow the tutorial here: How To Optimize Minecraft 1.17-1.18.2 for M1
- If you wish to optimize Minecraft 1.7.10-1.12.2 or for M1, go here: How to Optimize Minecraft 1.7.10-1.12.2 for M1
- If you are not on M1 Mac, but instead using Arm Windows, go here: How to Play Minecraft on Arm Windows
Thankfully, new tooling has been released by now that makes optimizing Minecraft for M1 much easier. It’s an app called “ManyMC”. It’s basically MultiMC like we used previously, except all the scripts and things have been automatically bundled.

If you go to the PolyMC GitHub, they will recommend using Homebrew to install it. DO NOT use Homebrew. The reason is available here: Homebrew is a Major Security Flaw — Install MacPorts Instead.
Step 1: Installing A Native Java 17 for optimizing Minecraft 1.19 on M1
Minecraft 1.17 requires Java 16. Minecraft 1.18 and 1.19 require Java 17, the latest LTS version of Java. As we have done previously, we will be using Zulu JRE rather than Oracle’s JRE, even though Oracle’s JRE is now available for M1 Mac. Zulu is much faster, therefore we will use Zulu to optimize Minecraft 1.19 for M1. Click on this link and download the latest version of Zulu JRE for arm macOS: https://www.azul.com/downloads/?version=java-17-lts&os=macos&architecture=arm-64-bit&package=jdk. Once you have clicked there, download as a .dmg:
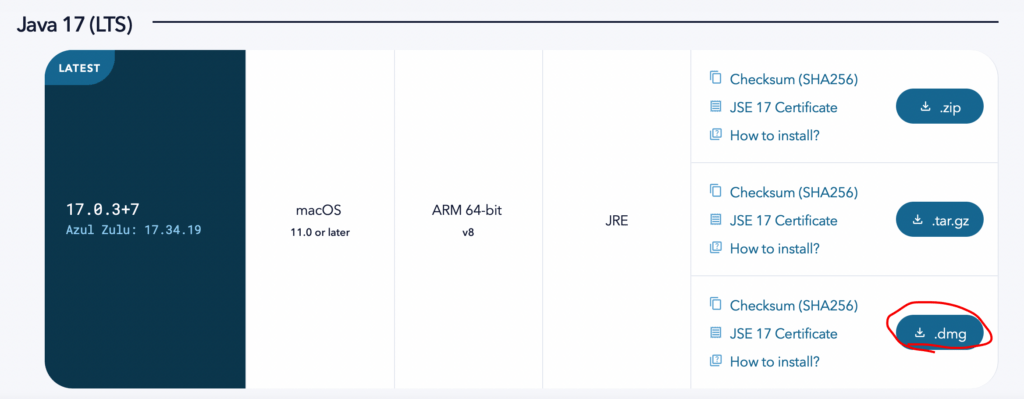
Once you have downloaded the .dmg, open it and see that it has a .pkg file. Double click on the .pkg file:

Go through the wizard. It should be simple to install. Once it is installed, it is time to install ManyMC.
Step 2: Install ManyMC
Click the button below to download ManyMC:
Once the ManyMC zip is downloaded in order to optimize Minecraft 1.19 for M1, double-click on it, and you should get an application. Double-click on the application. It will tell you it comes from an unidentified developer. Open your System Preferences > Security & Privacy > Open Anyway

This will launch ManyMC. Select your language. Then, at the next screen, select the Zulu JRE you just installed:
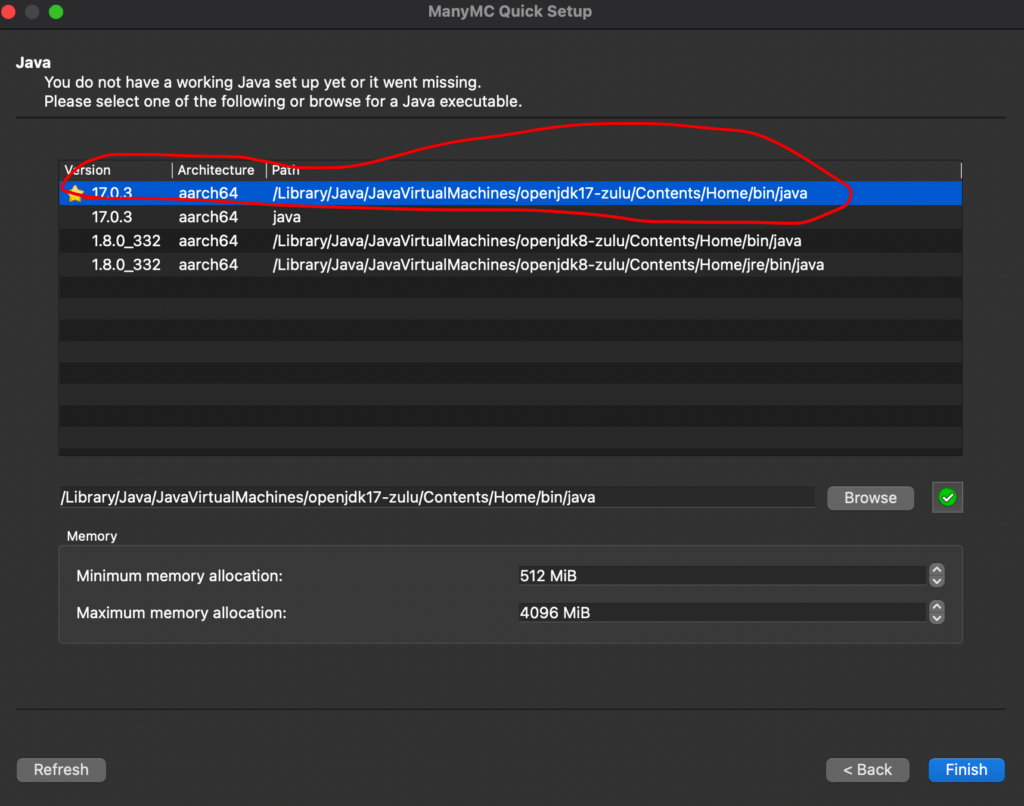
Press “Finish”. Now, you must log into your Minecraft account. Go up to Profiles > Manage Accounts on the top right:

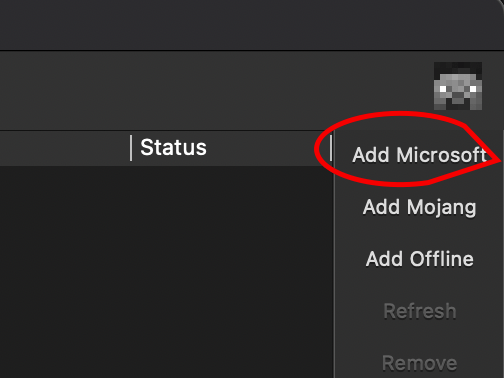
I’m fairly sure by now that there are no longer any Mojang accounts in existence, or at least ones that are not locked, so go ahead and click “Add Microsoft” at the top right.
Next, open https://microsoft.com/link. Place the code provided by the app there:
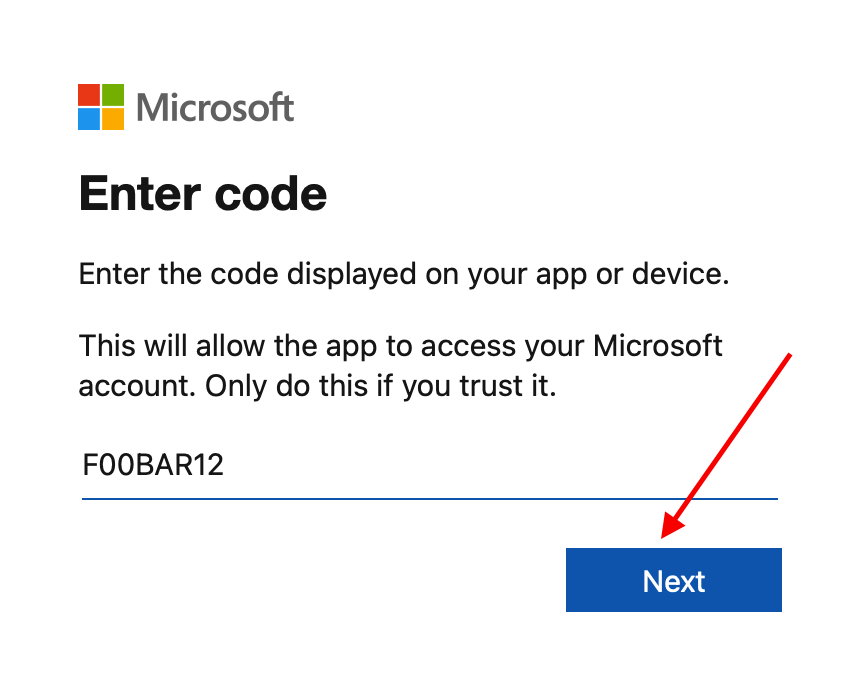
Now, log into your Microsoft account.
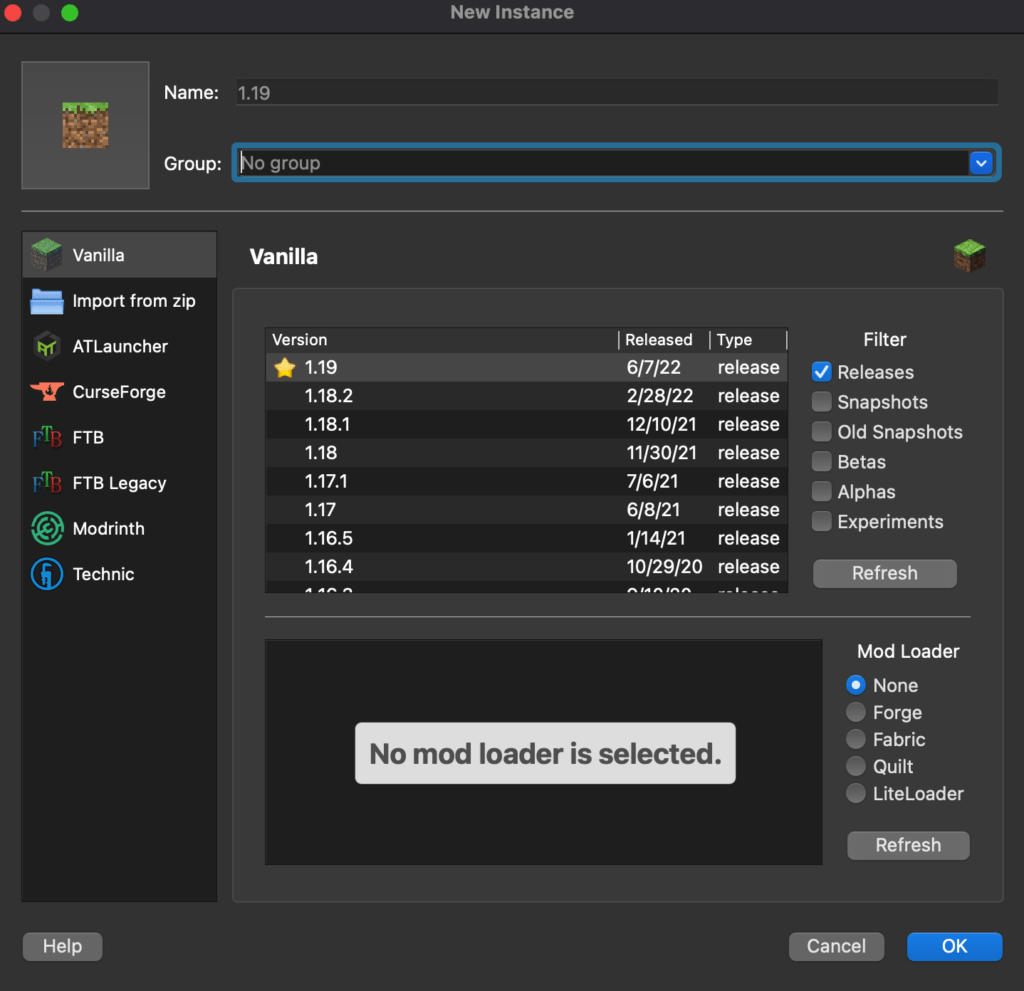
Step 3: Creating a Minecraft 1.19 Instance Optimized for M1
Finally, now that you are logged into Minecraft, you will want to create an instance. Press Add Instance at the top. You will see the following menu:
At this point, it’s up to you. Play how you want to play. You’ve optimized Minecraft 1.19 for M1! Use whatever mods you want to use. I may create a tutorial on how to play with some common mods such as OptiFine in the near future, so be on the lookout for that. But, for now, keep in tune. If you need any help, feel free to join our discord: https://discord.gg/infotoast.


I am insecure about myself so I like to cyberbully people online who have slightly different opinions than me.