How to Install OpenTerrainGenerator for Minecraft 1.19
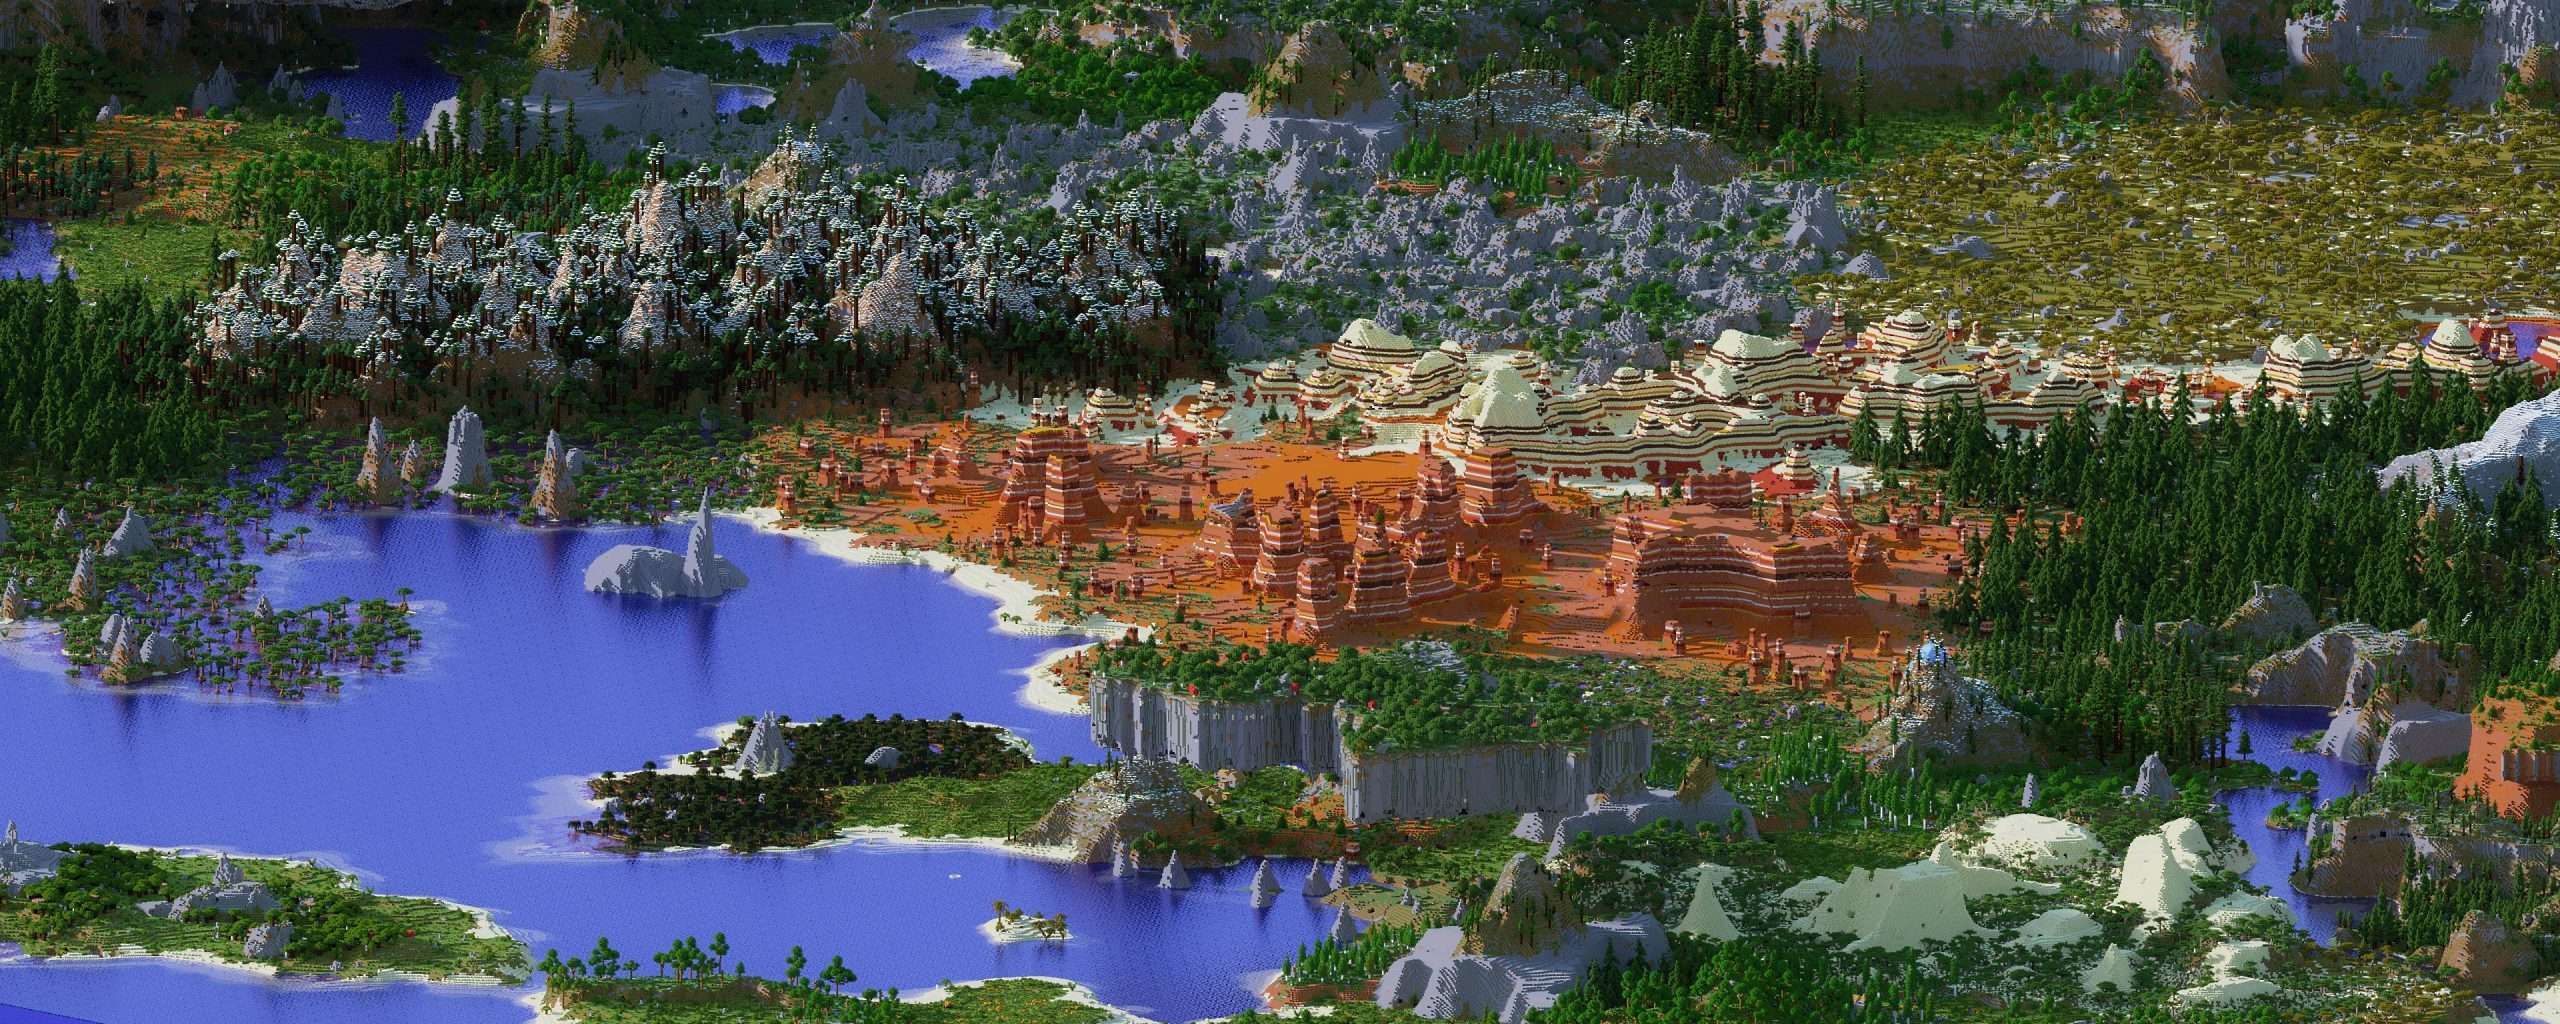
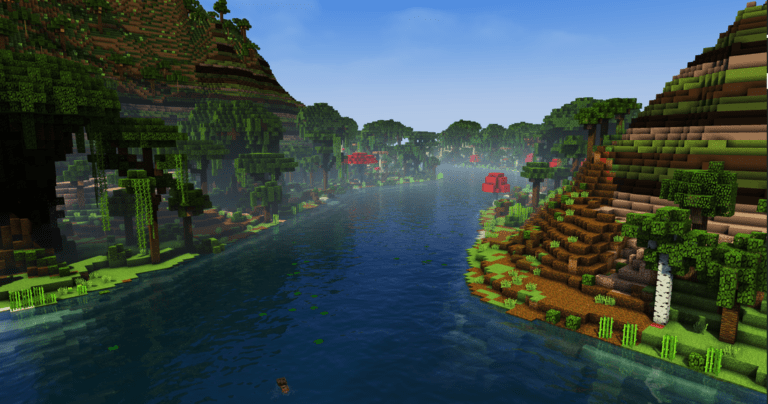
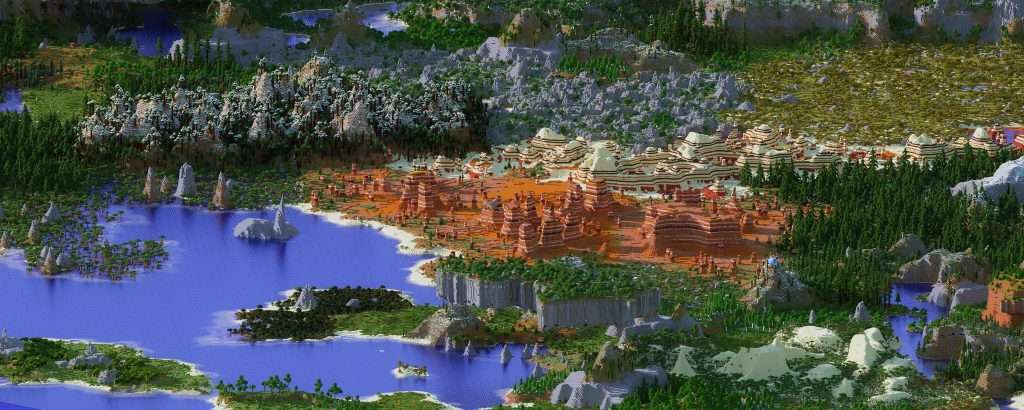
OpenTerrainGenerator is one of the oldest, and most customizable world generation mods of all time. Many know that it is a fork of TerrainControl, but most don’t know that it TC itself is a fork of PhoenixTerrainMod, which is a fork of BiomeTerrain Mod, all the way back in Minecraft Alpha. This tutorial will teach you how to install OpenTerrainGenerator for Minecraft Fabric or Paper 1.19. Right now, OpenTerrainGenerator supports Fabric and Paper.
There was some worry about the future of OTG, but management is in different hands now, and what was written here has changed: OpenTerrainGenerator: The Death of an 11-Year-Old Minecraft Mod
Download and Install OpenTerrainGenerator for 1.19
The website to download and install OpenTerrainGenerator for Minecraft 1.19 has changed recently from the old CurseForge and Spigot pages. You can download OTG for the latest Minecraft versions from the website https://openterraingenerator.org.
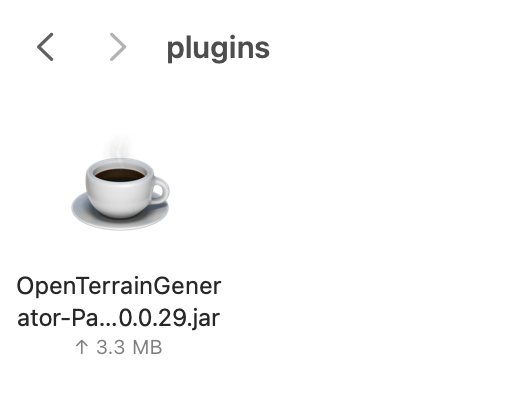
Once done with that, simply place OTG in the “plugins” folder on Paper, or the “mods” folder on Fabric.
Install Presets for OpenTerrainGenerator on Minecraft 1.19
There are a variety of presets available for OpenTerrainGenerator, some of which have not been updated since 1.12, however, still works, although some modern blocks and features may not be available. A list of presets that are optimized for OpenTerrainGenerator 1.19 are available at https://www.openterraingenerator.org/otg/openterraingenerator-presets/
However, you will notice popular presets like Biome Bundle and Wildlands are not on the list, they still work, but have not been optimized for legacy versions.
Install Modern Presets on OpenTerrainGenerator 1.19
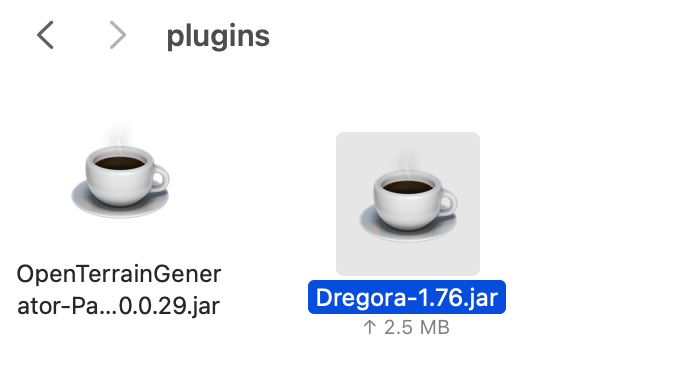
If you got the preset from the link above and are using Paper, simply place the preset jar in the “plugins” folder, and magic will do the rest. Make sure you configure the server to run the preset afterwards.
Install 1.12 Presets for OpenTerrainGenerator 1.19 on Paper or Fabric
In order to install older presets on OpenTerrainGenerator for Minecraft 1.19, you must extract the jar file. First, download the preset. On Mac, search Spotlight for “Terminal”, and on windows, type “cmd” in the start menu.
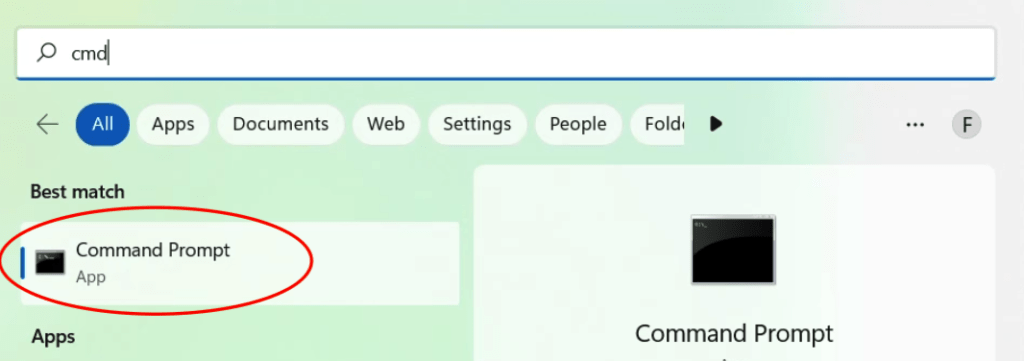
Run the following commands, replacing [Preset] with the name of the preset on the jar file:
cd Downloads
jar xf [Preset].jar
If you need help, feel free to contact our support channel: https://app.element.io/#/room/#info-toast:infotoast.ems.host.
Installing the Preset on OpenTerrainGenerator for 1.19
Run the server once and stop it to install OpenTerrainGenerator on Minecraft 1.19, you should get a folder called “OpenTerrainGenerator” in either “plugins” or “config”. Go into the “assets” or “Presets” folder in your Downloads, and inside of there should be the preset. Copy the folder to “plugins/OpenTerrainGenerator/Presets” on Paper, or “config/OpenTerrainGenerator/Presets” on Fabric. Now, configure the server to run that specific preset.
How to Tell OpenTerrainGenerator What Preset to run on Paper
On paper, open the “bukkit.yml” file. Add the following lines:
worlds:
  world:
    generator: OpenTerrainGenerator:[Preset]
Replace [Preset] with the actual name of the Preset.
How to Tell OpenTerrainGenerator what Preset to run on Fabric
On Fabric, it’s slightly different. Open “server.properties” and find the “generator-settings” variable. Enter the following:
generator-settings={"Preset":"[Preset]"}Replace [Preset] with the name of the preset, and you should be good to go and have installed OpenTerrainGenerator for Minecraft Fabric 1.19.
Conclusion
OpenTerrainGenerator has overcome the challenges that it faced a long time ago with the 1.13, and later the 1.17 and 1.18.2 updates, and is now available for the latest version, and frequent updates are to come. Make sure to check https://openterraingenerator.org often as updates are frequent.
