Synology Photos: How to Back Up Photos to Your NAS
Are you tired of giving companies like Google or Amazon all your photos? Synology has a free app that comes with your NAS for photo backup. In this tutorial, I will teach you how to set up and configure the Synology Photos app.
I intend on doing more Synology tutorials shortly; check out Synology for our list of posts.
Step 1: Install Synology Photos on your NAS
First, open your Package Center app in DSM.
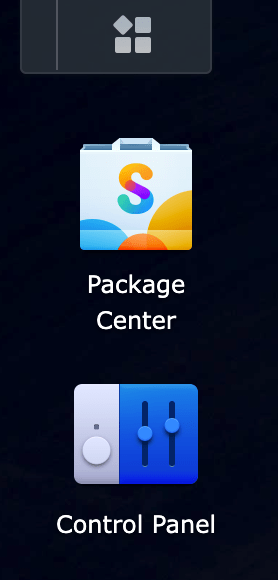
Then, search “Photos,” click on the Synology Photos app, and click “Install.”

The app will now install. Go through any menus confirming the settings listed.
For iOS Users Only: Optional Extension for .heic Photos
Install the “Advanced Media Extensions” app from the Package Center. You will need to log into your Synology account in the process.
Step 2: Configure Synology Photos Server
Click on the Synology Photos app on the DSM desktop. This should open your photos app.
You may want to enable face and object recognition. You can do that now. That is an optional feature you don’t necessarily have to do.
Optional but recommended: Multi-User Environment
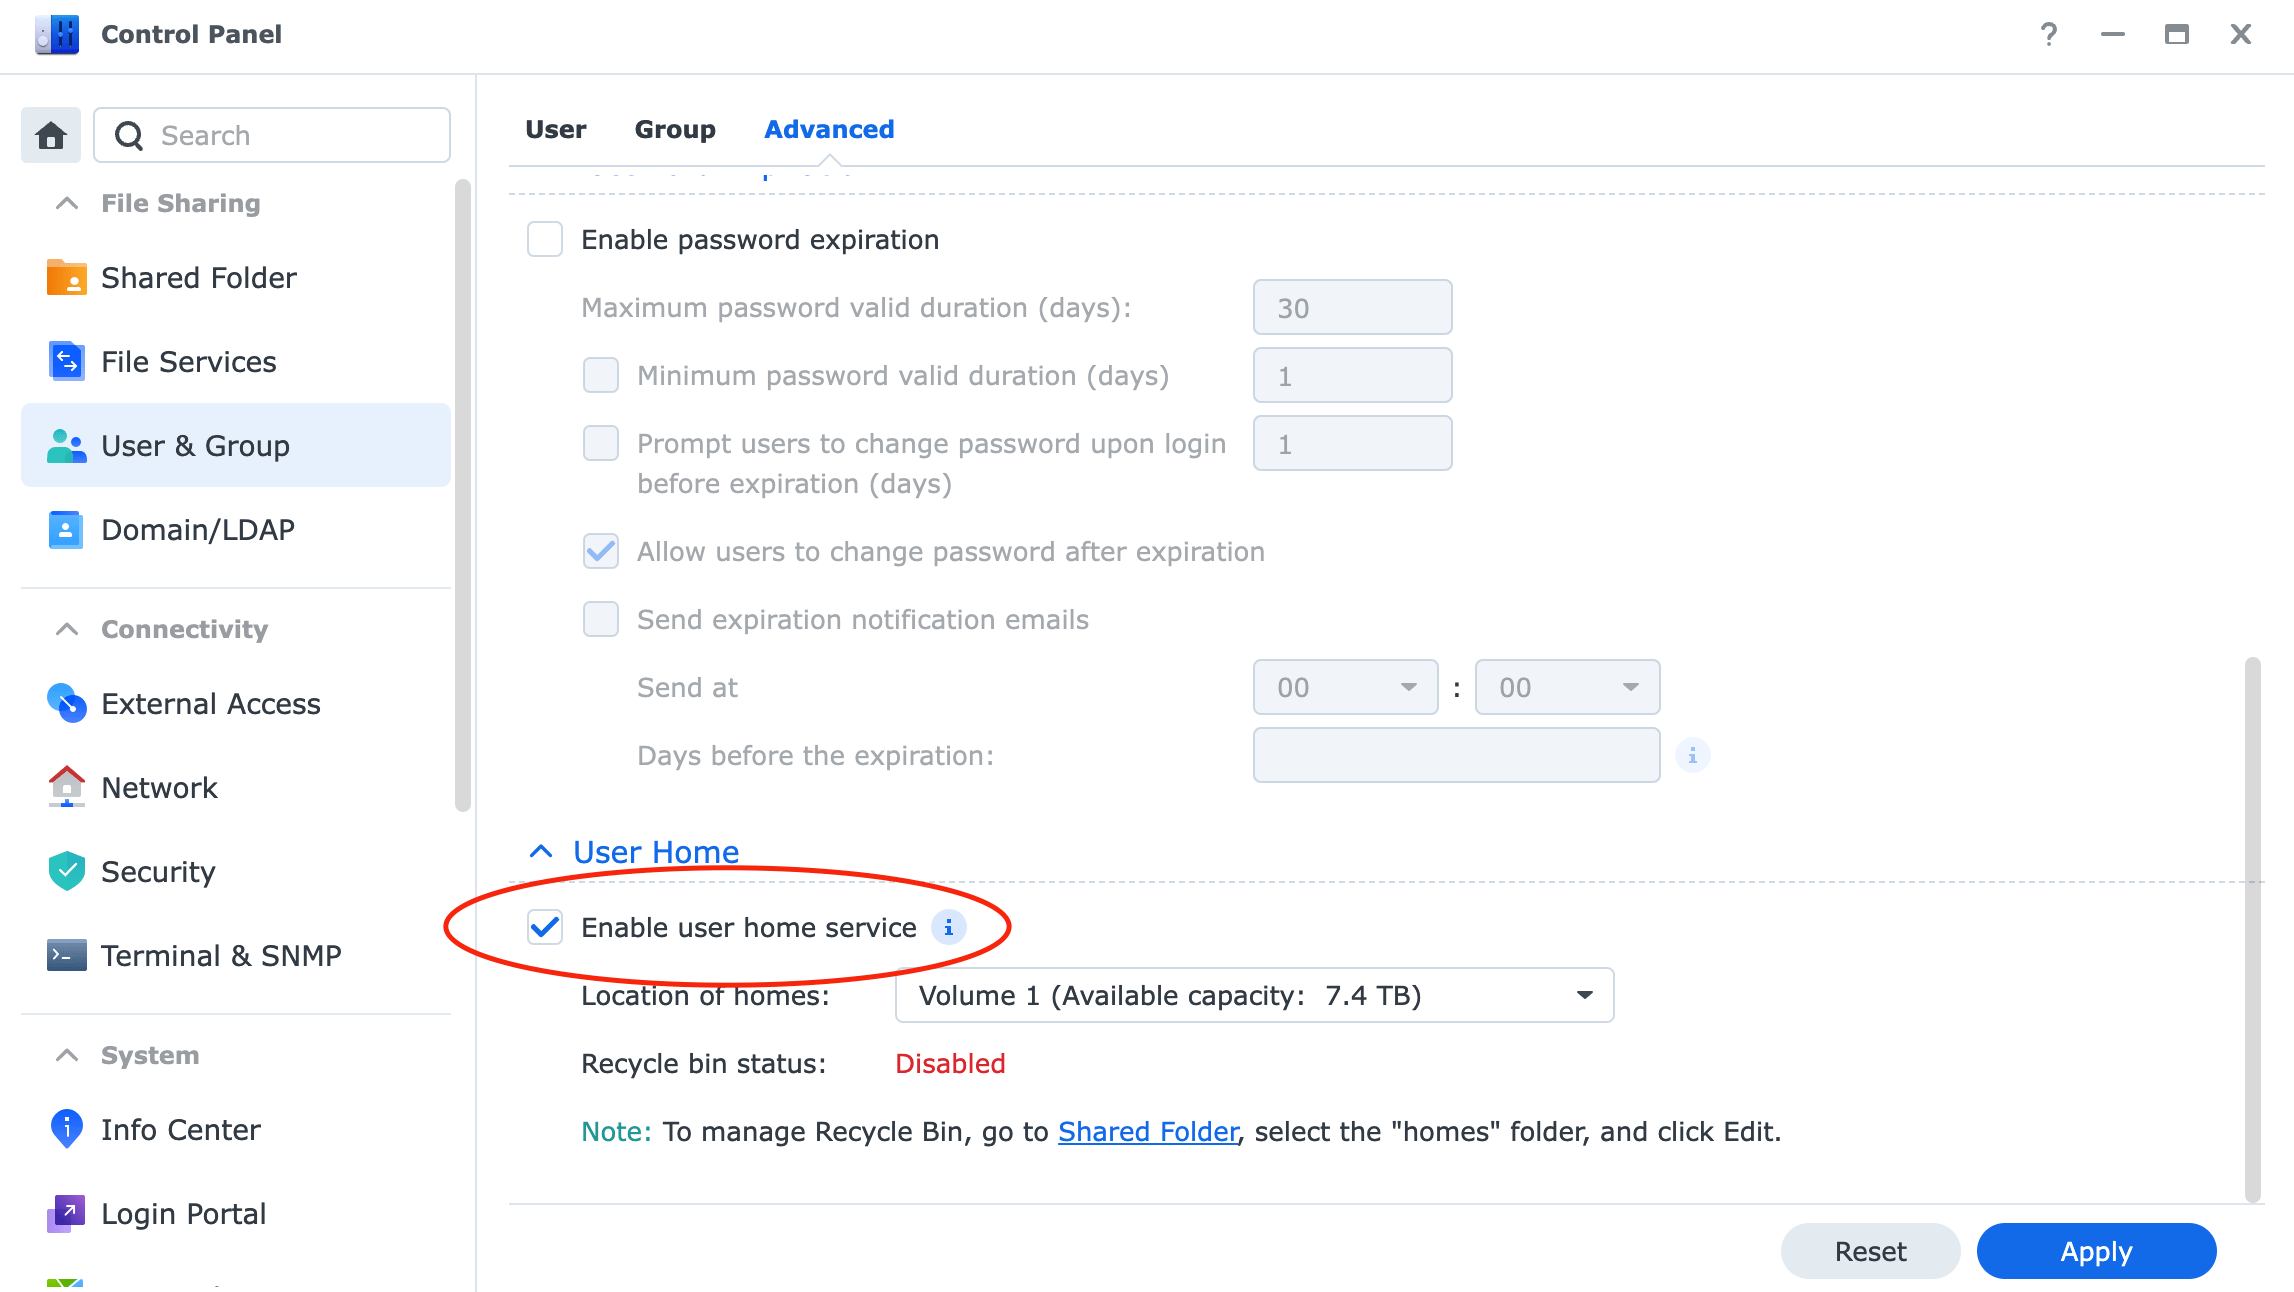
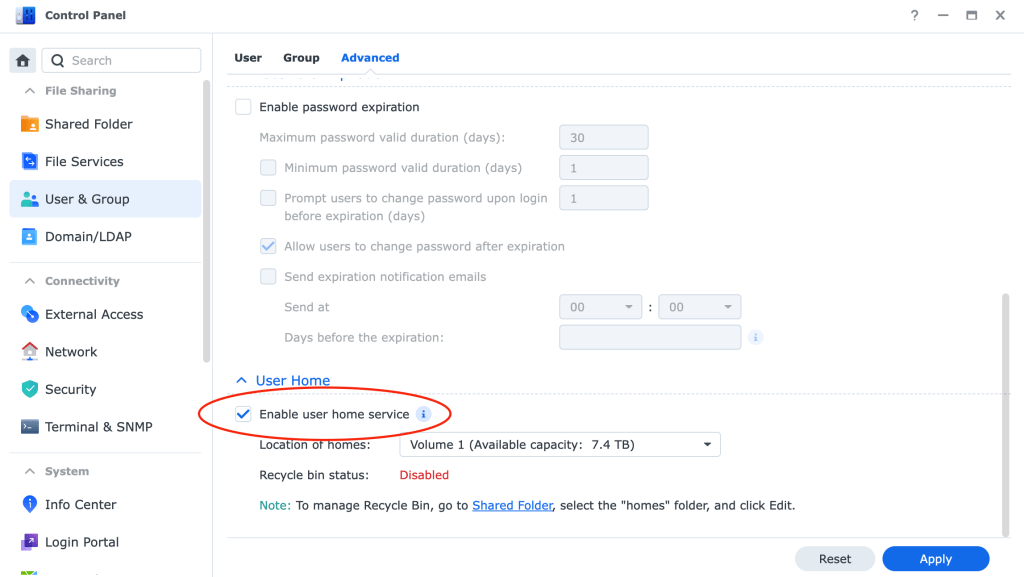
If multiple people use your Synology NAS, you can ensure each person’s pictures stay their own by enabling user home directories. Go to Control Panel > User and Group > Advanced > Enable user home service in DSM.
Step 3: Install Synology Photos on Your Phone
Synology Photos is available on the App Store and Google Play. When configuring, you should see a QR code that allows you to download the app.
Step 4: Configure the Mobile App
First, log in to your NAS with your Quickconnect ID, username, and password. Then, click “Enable Photo Backup” and configure the settings to your preference.
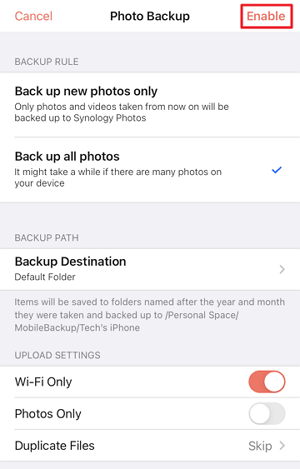
After that, enjoy. You may want to wait until you’re near your NAS before you upload every photo on your phone, as that process will take a long time. But now, you’re free from recurring photo backup subscriptions and constant spying on your photos!
