How to Use WINE to Run Windows Apps on Linux or Chromebooks
Using WINE to Interpret Windows Apps on Linux Systems
WINE is an interpreter for Windows apps on Linux systems. At least in the context of this interpreter, we are not talking about the alcoholic beverage. WINE stands for WINE Is Not an Emulator. It is one of the many examples of recursive acronyms in the computer industry, the foremost being GNU, which stands for GNU’s Not Unix.
Because Chrome OS comes with a Beta Linux VM that you can install, you can also run Linux and Windows apps on Chromebooks. This means Chromebooks can run Chrome apps, Android apps, Linux apps, and Windows apps. Chromebooks can run more applications than any other operating system in the world.
It is important to note that WINE cannot do everything. Sometimes WINE has trouble rendering more complicated apps because Linux and Chrome OS do not use the same GUI as Windows. So do note that not everything you can do on Windows will work in WINE.
Prerequisites for Chromebooks
Before you install WINE, you need to make sure that you do a couple of things. The first thing you need to do is ensure that you have Linux (Beta) installed. To read up on installing Linux (Beta), go to How to Install Linux on a Chromebook.

Once you have that installed, you will also need to go to the Linux terminal and enter the following commands:
sudo apt update

sudo apt install software-properties-common
That command will update the packages and install a vital package that allows you to install the repository for WINE. Now that you’re done with that follow the rest of the tutorial. It should be the same thing.
Installing on Ubuntu or Chromebook
This tutorial will be mainly for Ubuntu, as it is the Linux that is most common and the Linux that Chromebooks use as well. For other distributions, the process is relatively simple. Enter in the following command:
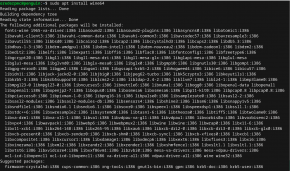
sudo apt install wine64
Sit back. That command will probably take a while.
Now that you’re done with that command, there is another command to run. This command will allow you to control the base settings that Wine runs upon. Enter the following command:
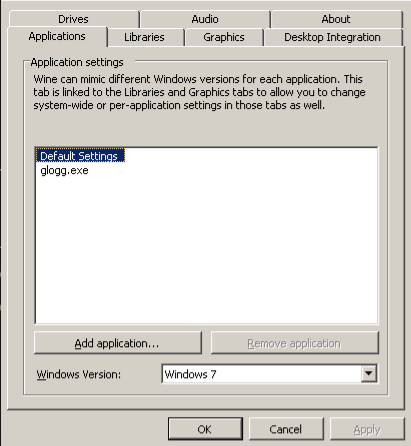
winecfg
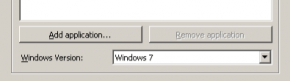
Now, go into the “Applications” tab, and change the Windows Version to a preferred version. It will start at Windows XP. I recommend using Windows 7.
Testing Wine
Now that you have WINE installed, now would be an excellent time to check it. I recommend downloading a basic app for Windows. For this tutorial, we will be using glogg. Glogg is an application that reads log files that are too long to be read by a standard text editor usually. However, it will read any type of data. Download glogg from the following URL: https://glogg.bonnefon.org/download.html.
Now that glogg is downloaded, go to your downloads and enter the following command (on Chromebook you will have to move it to Linux storage):
wine glogg-latest-x86_64-setup.exe
It will walk you through setup, just like on Windows. Now, we will make a fake log file. Enter in the following commands:
touch fakelog.log

nano fakelog.log
Now, type this for your log:
Log entry 1

Log entry 2

Log entry 3
Now, type CONTROL+O, ENTER, then CONTROL+X. Your log is written. Now type the following command to read the log file with glogg:
wine ~/.wine/drive_c/Program\ Files/glogg/glogg.exe fakelog.log
And there you go. That’s how you install and use WINE for Ubuntu or Chromebook.