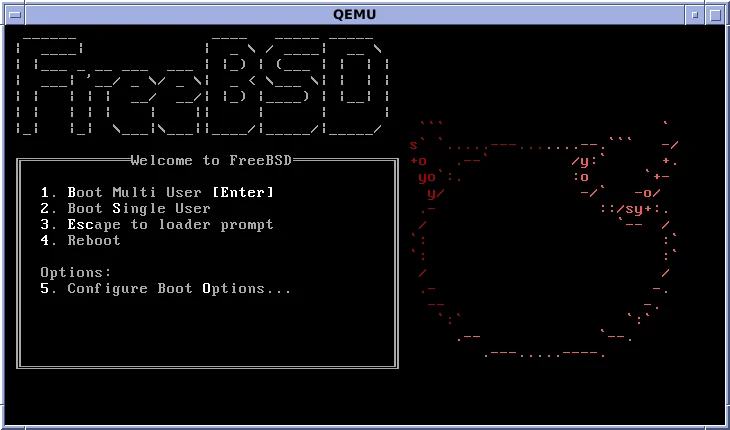
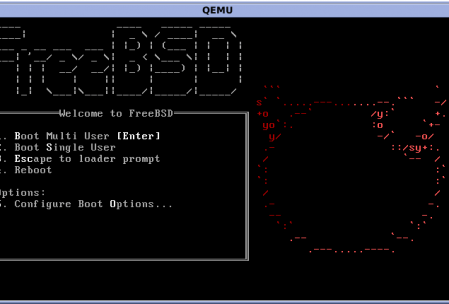
First Things to Do to set up FreeBSD
There are few Operating Systems on the level of FreeBSD. FreeBSD is more secure than even Linux. It is also much more reliable than Linux because it’s a holistic Operating System and not just a collection of packages. That being said, there is a steep learning curve, and the philosophy is different than Linux. FreeBSD doesn’t try to be easy to use, and sacrifices ease of use for performance and reliability. This article will try to show you the how to set up FreeBSD.
However, it can be made more comfortable and more like Linux by installing several packages. So I will walk you through those things to make it easier.
1) Update the Operating System to start setting up FreeBSD
FreeBSD updates are more straightforward than many Linux Operating Systems. This is the first thing to do to set up FreeBSD. Similar to Linux, system updates must be installed as root. However, there is no sudo command (I will show you how to install that later), so you’ll have to log in as root before entering this command. This command will fetch any Operating System updates and install them if there are any:
freebsd-update fetch install2) Give your user account Root Access
So it’s easy to forget when using the FreeBSD installer to give yourself root access, but you have to specify to provide yourself with wheel in the installer. Some people forget to do this when they first set up FreeBSD. If you’ve already done that, you can skip this step. If not, run the following command as root to grant yourself the wheel group:
pw group mod wheel -m yourname3) Install the Package Manager
Unless the Linux distro you used before switching to FreeBSD was Gentoo, you’re probably not familiar with how FreeBSD manages packages by default. By default, FreeBSD uses the ports system, which is a tree of directories with practically every package you can install in there to be built from source. However, there is a more Linux-like package manager available, called “pkg.” To get this package manager, you’ll have to first download it. Type “pkg update” in the terminal as root for the system to download and install it.
pkg updateFor More Experienced Users
You can actually multithread your ports compilation to speed things up rather than using binary package management! See here: How to Speed up FreeBSD Ports with Synth
4) Install File Editor
FreeBSD doesn’t include nano or vim by default. Whether you prefer the sheer power of vim or the simplicity of nano, you will still need to install it. To install nano, run the following command as root, and type y when it asks you for confirmation.
pkg install nanoInstalling vim is a bit different. FreeBSD, unlike many console-only Linux distributions, by default, doesn’t include Xorg or any X11 graphics stuff. This is good because Xorg is bloated and has a history of security issues. However, many packages will attempt to install Xorg with them because they contain some graphics thing. This command will allow you to install vim without installing any X11/Xorg stuff:
pkg install vim-console5) Install Bash to finish setting up FreeBSD
FreeBSD, unlike many Linux distributions, doesn’t come with bash by default. FreeBSD instead uses sh or csh, which may have a learning curve to get used too. To install bash, start by running the following command as root:
pkg install bash bash-completionHowever, there is still a little installation to take care of before it just works. Start by creating a file in the root home directory called “.bash_profile.” Then enter the following text in your preferred editor:
[[ $PS1 && -f /usr/local/share/bash-completion/bash-completion.sh ]] && \
    source /usr/local/share/bash-completion/bash-completion.sh
# You may also want to make the ls command more colorful to see the difference between files and folders
alias ls="ls -G"
# You may also want to specify a default editor
export EDITOR=/usr/local/bin/(vim/nano)
Then you’ll want to copy the .bash_profile file to your user home directory (as root) for when you’re not logged in as root in order to set up FreeBSD:
cp ~/.bash_profile /home/yourname
chown -R yourname:yourname /home/yourname
chmod +x /home/yourname/.bash_profile
Finally, you want to set your default shell as bash because this isn’t done by default (do this as root):
chsh -s /usr/local/bin/bash root
chsh -s /usr/local/bin/bash yourname
You may want to log out and log in again after this.
6) Install Sudo
With Linux, sudo is something that comes by default; however, in FreeBSD, there is no sudo by default. There is only su and logging in as root. Therefore, you’ll want to install sudo. Do that by typing the following as root:
pkg install sudoNow, you’ll want to specify that your user has access to it. Do that by opening the file located in /usr/local/etc/sudoers and uncommenting the following line:
%wheel ALL=(ALL) ALLNow you can log into your regular user and execute commands as root as long as you know the password. I hope you enjoyed this article. If enough people view it, I will surely be making more articles on FreeBSD, as there is little documentation from people other than the official FreeBSD guide (https://freebsd.org), and it’s an excellent Operating System. That’s how to set up FreeBSD.
NEW Article: How to Set up An Apache Website in FreeBSD


Thanks for this compendious guide–brief yet complete!