How to Install ZSH on Mac, Linux, and FreeBSD
Yesterday, I discovered ZSH. It’s pretty incredible. It’s a shell, like bash or sh, but it includes tons of features like syntax highlighting, error correction, and more. In this tutorial, I will show you how to install and configure ZSH on BSD, Linux, and Mac, so it’s as cool as I made it sound.
Installation
The first thing you’ll want to do is install it. I will have separate tutorials for Ubuntu, FreeBSD, and MacOS, as the installation is different.
How to install ZSH on FreeBSD
To install ZSH on FreeBSD, we’re going to be using pkg. If you want to use ports, you can use “whereis” to find the proper port. First, run the following command as root:
# pkg install zsh zsh-autosuggestions zsh-syntax-highlighting
This should install zsh and all the recommended stuff for it. Now, you will want to open up vim or nano in your root directory with the file name “.zprofile” and enter in the following code (you can change it how you please.):
# BEGIN zsh data
# Syntax highlighting
source /usr/local/share/zsh-syntax-highlighting/zsh-syntax-highlighting.zsh # On BSD
source /opt/local/share/zsh-syntax-highlighting/zsh-syntax-highlighting.zsh # On Mac
source /usr/share/zsh-syntax-highlighting/zsh-syntax-highlighting.zsh # On Linux
ZSH_HIGHLIGHT_STYLES[suffix-alias]=fg=cyan,underline
ZSH_HIGHLIGHT_STYLES[precommand]=fg=cyan,underline
ZSH_HIGHLIGHT_STYLES[arg0]=fg=cyan
ZSH_HIGHLIGHT_HIGHLIGHTERS=(main brackets pattern cursor)
ZSH_HIGHLIGHT_PATTERNS=('rm -rf *' 'fg=white,bold,bg=red')
# autosuggestions
source /usr/local/share/zsh-autosuggestions/zsh-autosuggestions.zsh # On BSD
source /opt/local/share/zsh-autosuggestions/zsh-autosuggestions.zsh # On Mac
source /usr/share/zsh-autosuggestions/zsh-autosuggestions.zsh # On Linux
# zsh options
setopt notify
setopt correct
setopt auto_cd
setopt auto_list
# some nice formatting for you
export PROMPT='%B%F{yellow}%~>%b%f '
alias ls='ls -G'
# END zsh data
# put your other code in here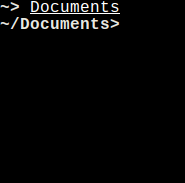
Now all you need to do is use zsh as your default shell. To do that, type the following command as root:
# pw usermod [YOURUSER] -s /usr/local/bin/zshThen, log out and log back in, and you should be all good. Enjoy.
At Info Toast, we’re big fans of FreeBSD. See our other FreeBSD tutorials at FreeBSD.
How to install ZSH on Mac
If you’re on the latest macOS version, it ships with zsh as the default shell. However, if you’re using an older version that doesn’t have it by default, you can install it by running this (make sure you have homebrew installed first. https://brew.sh/):
brew install zsh
After that, look into Oh My Zsh (https://ohmyz.sh/). It’s a useful utility with plugins for zsh. That will make customization easier. That’s how to install ZSH on Mac.
How to install ZSH on Ubuntu
First of all, you need to install zsh with apt:
sudo apt update && sudo apt install zshThen, to make zsh your default shell, run the following command:
sudo usermod -s /usr/bin/zsh [YOURUSER]Now, install zsh syntax highlighting by running the following command:
sudo apt install zsh-syntax-highlighting
Then, with nano or vim, open up the file ~/.zshrc and paste the following data:
# BEGIN zsh data
# Syntax highlighting
source /usr/share/zsh-syntax-highlighting/zsh-syntax-highlighting.zsh # On BSD
source /opt/local/share/zsh-syntax-highlighting/zsh-syntax-highlighting.zsh # On Mac
source /usr/share/zsh-syntax-highlighting/zsh-syntax-highlighting.zsh # On Linux
ZSH_HIGHLIGHT_STYLES[suffix-alias]=fg=cyan,underline
ZSH_HIGHLIGHT_STYLES[precommand]=fg=cyan,underline
ZSH_HIGHLIGHT_STYLES[arg0]=fg=cyan
ZSH_HIGHLIGHT_HIGHLIGHTERS=(main,brackets,pattern,cursor)
ZSH_HIGHLIGHT_PATTERNS=('rm -rf *' 'fg=white,bold,bg=red')
# zsh options
setopt notify
setopt correct
setopt auto_cd
setopt auto_list
# some nice formatting for you
export PROMPT='%B%F{yellow}%~>%b%f '
alias ls='ls -G'
# END zsh data
# put your code here
Once you’re done with that, you should be good to go. Just log out and log back in, and it should work!


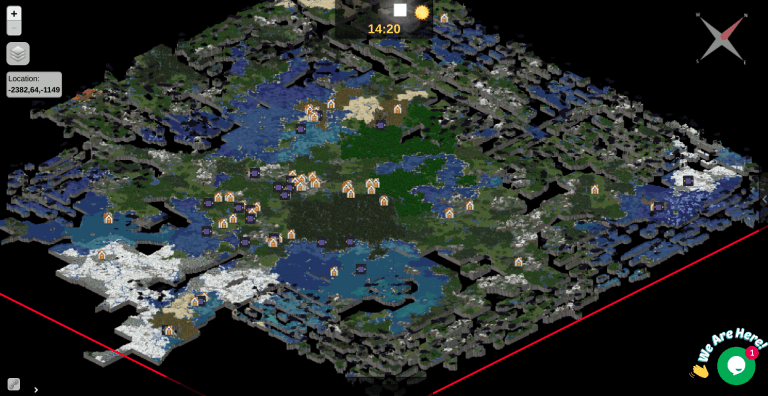

can you play mindcraft on a crombook
See: UPDATE: How to install Minecraft: Java Edition on a Chromebook