How to Play Minecraft on Arm Windows
I’ve written previously about playing Minecraft on the M1 Mac, but now I am continuing that series by showing you how to play Minecraft on Arm Windows. This tutorial only works with Minecraft 1.17 and 1.17.1, sadly.
Step 1: Join the Windows Insider Program
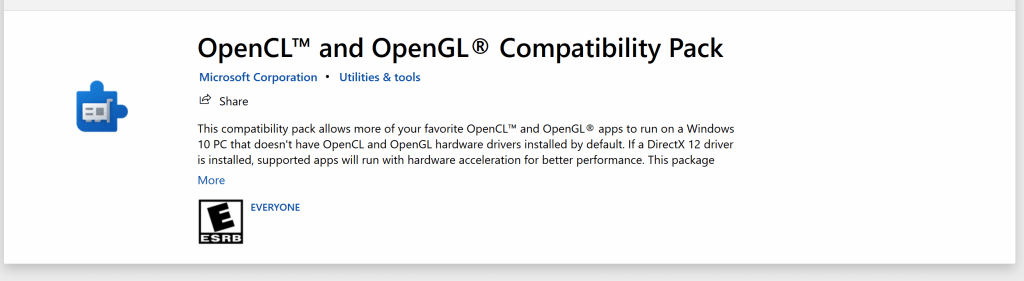
Playing Minecraft on Arm Windows requires OpenGL compatibility. To play with OpenGL, you must join the Windows insider program. You can register for that here: https://insider.windows.com/en-us/. Once you’ve registered for that, you can head here and install the OpenGL compatibility pack: ms-windows-store://pdp/?productid=9NQPSL29BFFF.
Step 2: Download Arm Java
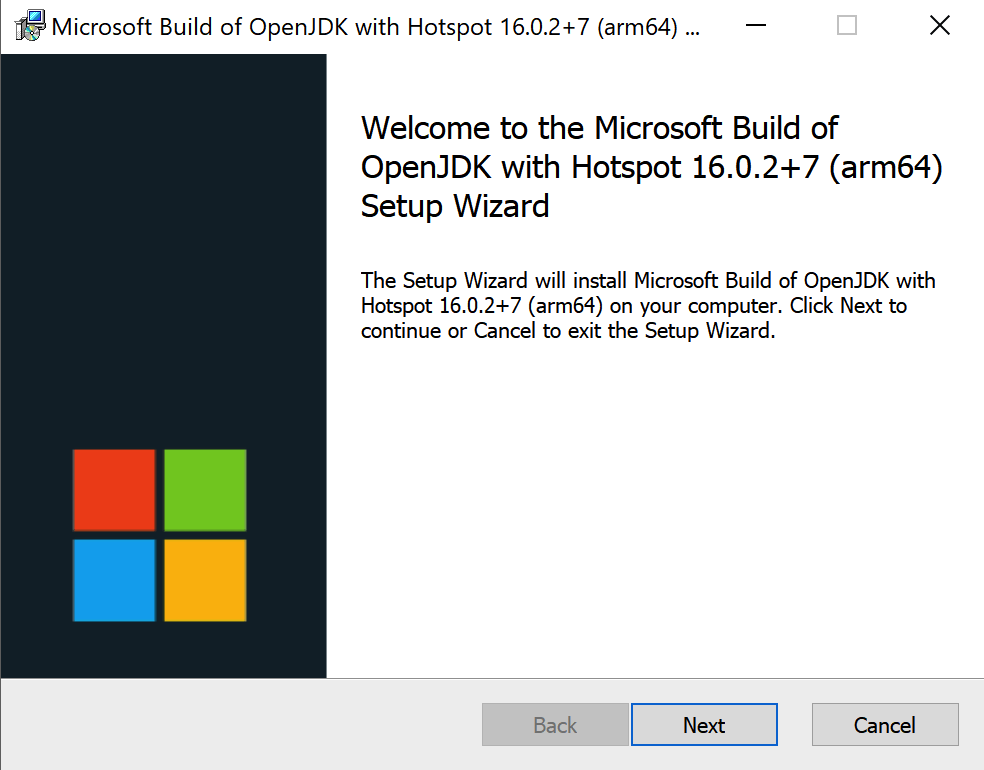
Download and install Microsoft’s OpenJDK for aarch64 so you can play Minecraft on Arm Windows: https://github.com/microsoft/openjdk-aarch64/releases.
Step 3: Configure the Minecraft Launcher to Play Minecraft on Arm Windows
Unlike on Mac, we will be using the vanilla Minecraft Launcher instead of MultiMC. Head over here and download the JSON for the Minecraft version you would like to download: https://github.com/adiantek/mc-spx. Next, place the folder that came with the repository in your %AppData%\.minecraft\versions folder.
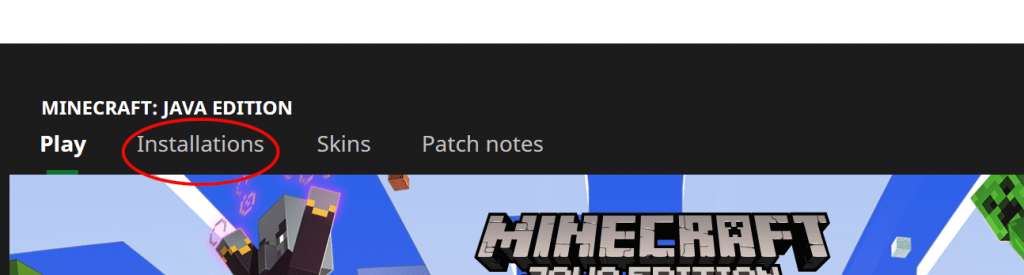
Next, run the Minecraft Launcher and head over to your installations.
Now that you’re at your Installations, ensure Modded is checked, and click “New Installation.” Name it “1.17.1-aarch64” or something along those lines. Then, select the version of Minecraft that you installed into your versions folder.

Next, before you save the installation, you need to set your Java runtime to the one you downloaded previously. Go to “More Options” to see the Java Executable option. Now, Your Java runtime should be located at C:\Program Files (Arm)\Microsoft\jdk-[VERSION]-hotspot\bin\javaw.exe.

Now that is done, all you need to do is save and then head back to the Play tab. Make sure the arm installation is selected, and then click “play.” You should be able to play Minecraft on Arm windows now.


thank you !
Just want to reach out and say thanks – it works beautifully on 1.19.2 with one caveat – you can’t use the Windows 10/11 Minecraft installer. Rather, you have to resort to the Windows 7/8-version. You may want to update this guide to reflect that, just to clarify for new users.
Thank you. I haven’t heard this from others, so I will make sure to check this out myself with futher research.
I have an arm tablet and most definitely only launcher that will work is a 32 but version aka windows 7/8 version.